

The Daybed Room Remodel
Bed / light / rug / curtain rod / curtains
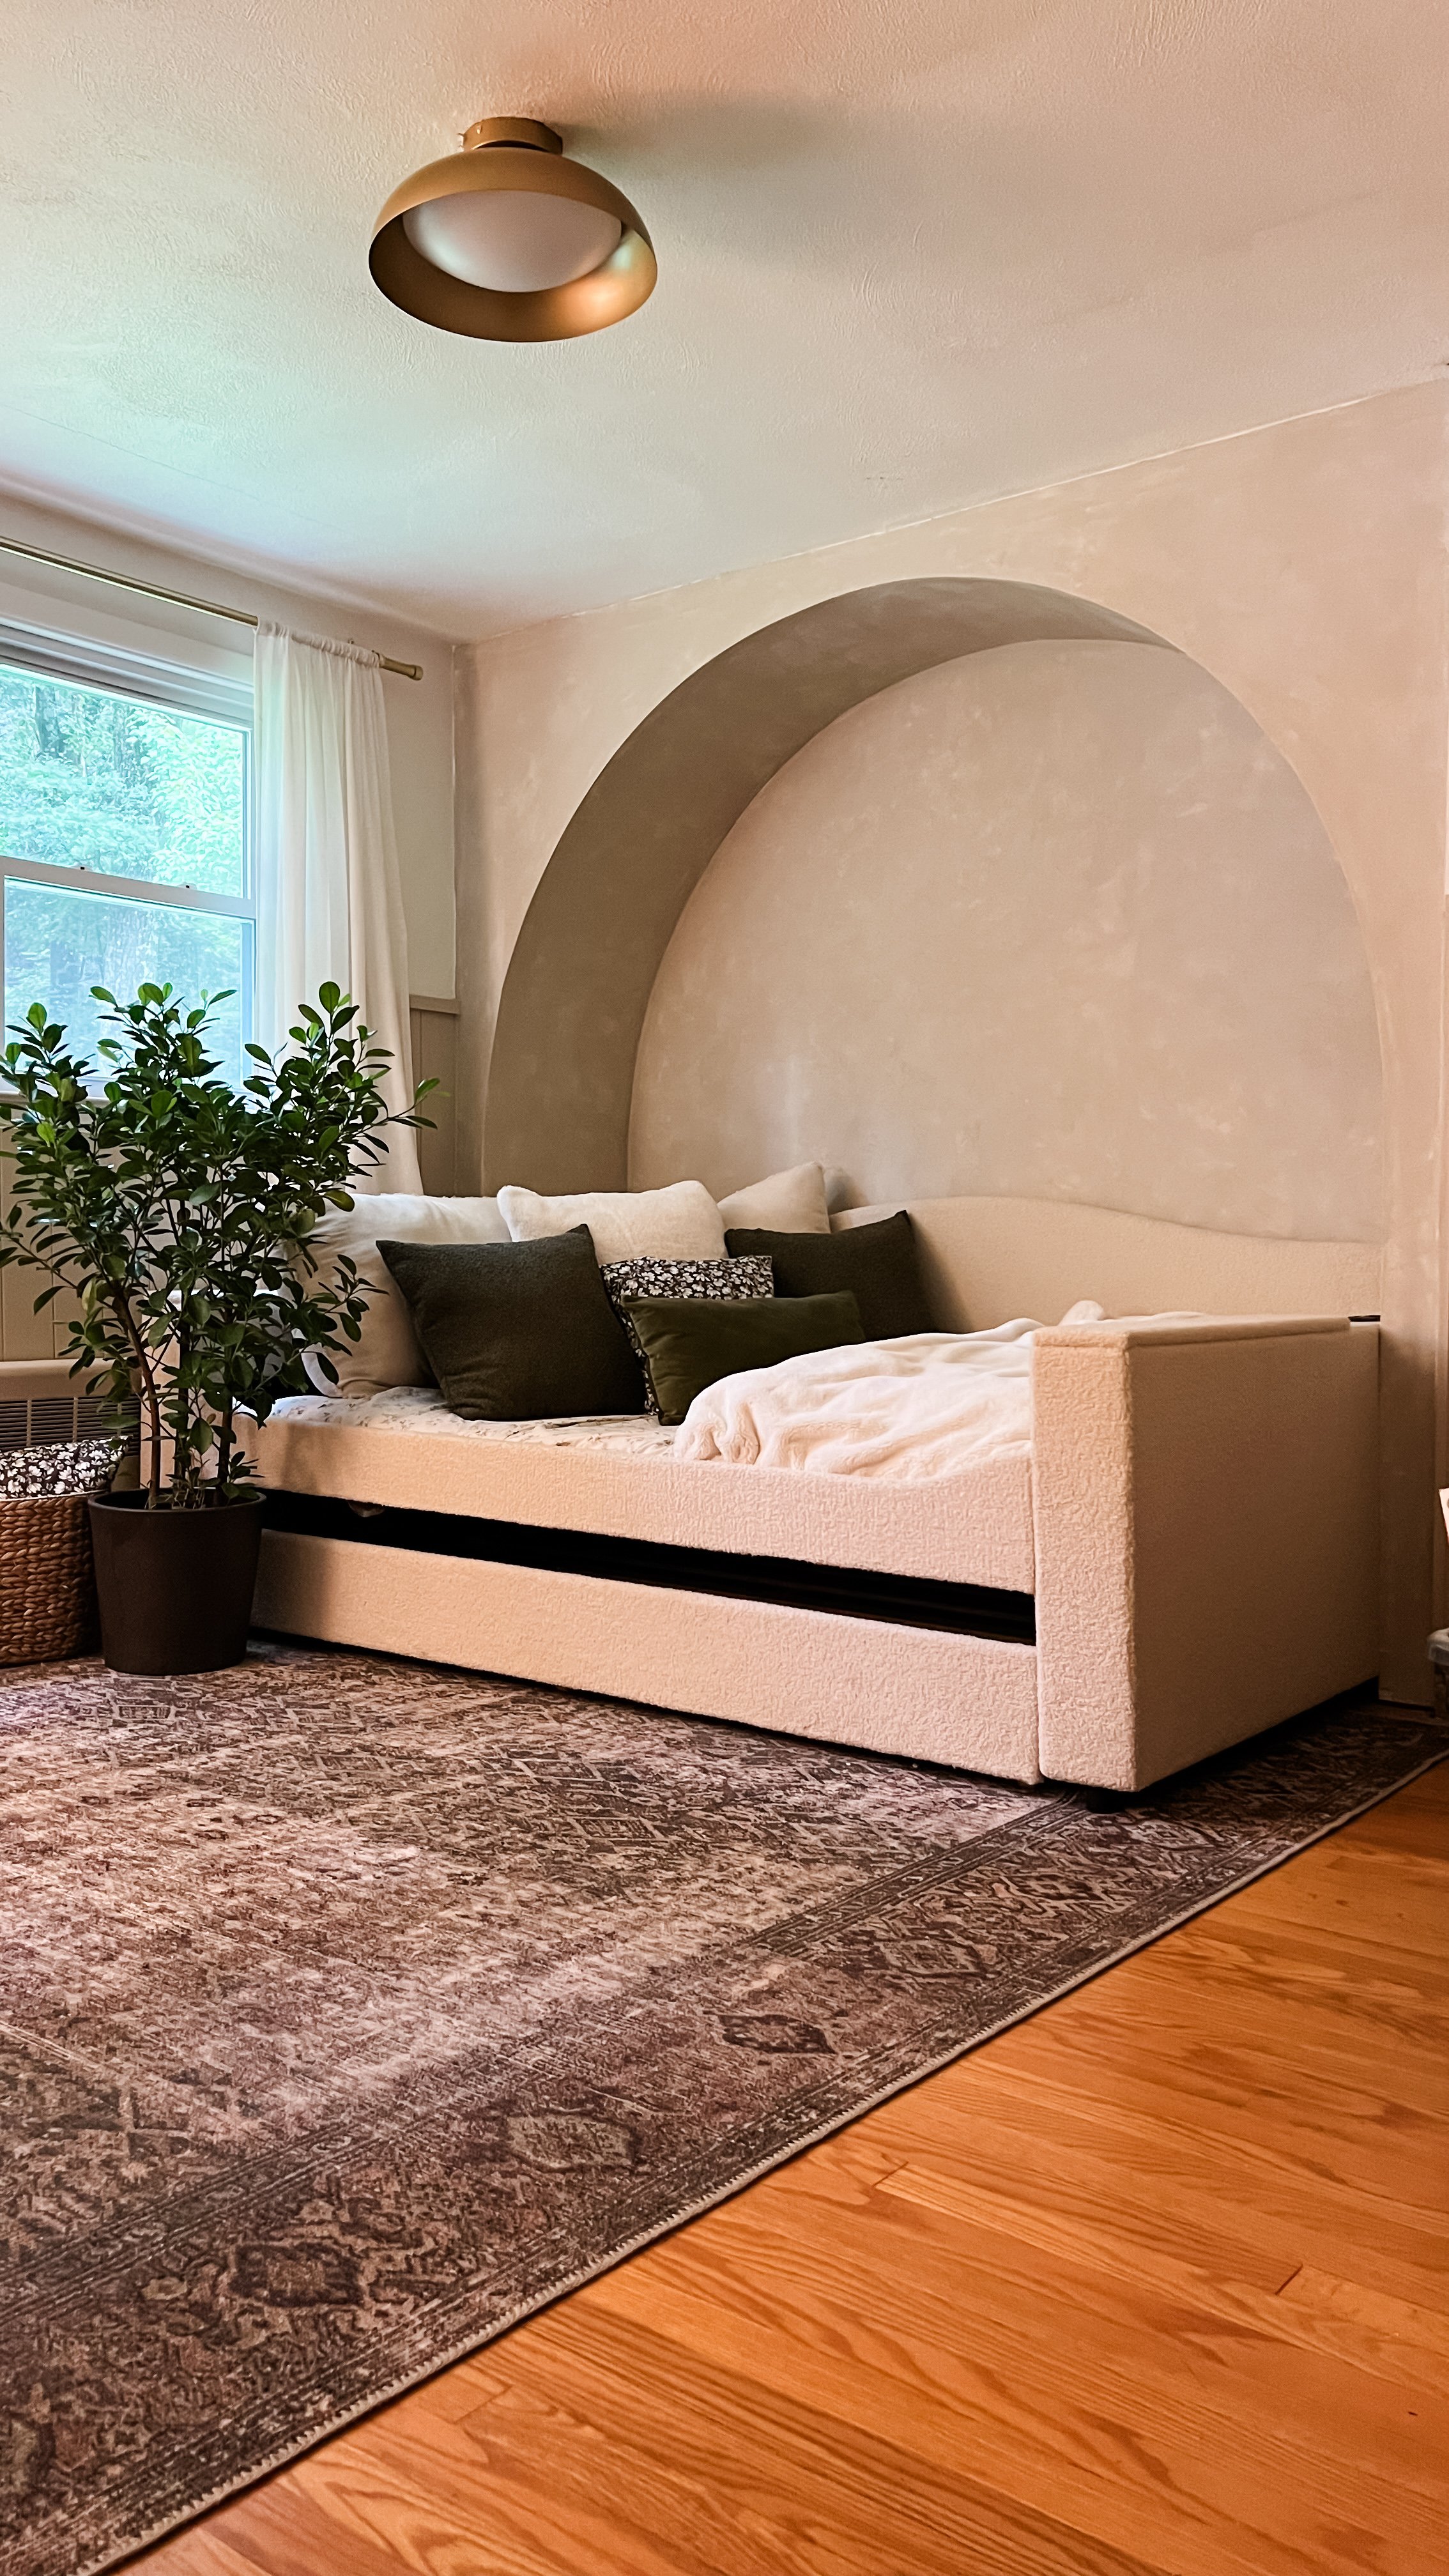
I’m not sure what to call this room. When we first moved in it was just the unused, empty bedroom, until 2020 came and it became a temporary home office, then it turned into all things storage, and now it’s a guest room but like — we don’t really ever have guests. So, I guess I’ll call it the “daybed bedroom” because that’s what it’ll be known for from now on. The bedroom that we built an arch in. The bedroom that we put a trundle daybed in. The bedroom that the kids are absolutely smitten with. The kids love this room so much that little missy is willing to give up her entire room for it. It won’t be happening but I respect her efforts.
Before —

The built-ins turned arch —
I’m always a fan of built-ins whenever possible. However, they didn’t really work in this room. This room has a teeny, tiny floor plan and 3 doors because of the exterior hallway, closet, and walk-up attic. The built-ins took up the only wall we had to fit a bed. So, out they came.

When Zack began the demo process, I thought I’d instantly regret my decision. As soon as they were out though, I felt like I could finally breathe in this room. Removing the built-ins only bought us an extra 18-20in but it made a world of difference.

See the full arch build HERE
The arch is solely for aesthetics. We could have just plopped the bed up against the wall but I wanted something that would make more of a statement than that.

And this is why the arch had to happen. When the doors are open, you can see this wall from our master bedroom and while walking down the hallway. The arch adds so much to the room.
Paneling, paint colors & more —

The paneling is actually big sheets of 4x8 nickel gap from Home Depot. It’s way more affordable than shiplap but still gives you that shiplap look.
The paneling is painted Piano Room by Portola Paints. However, I had the paint color matched at Sherwin Williams. See the image below for the paint formula. When I walked into my local Sherwin store, they didn’t have the formula. However, they happily made it after I showed them a picture pulled from Pinterest.
The top half of the room is Pure White (SW). This is my favorite white and we have it all over our house.

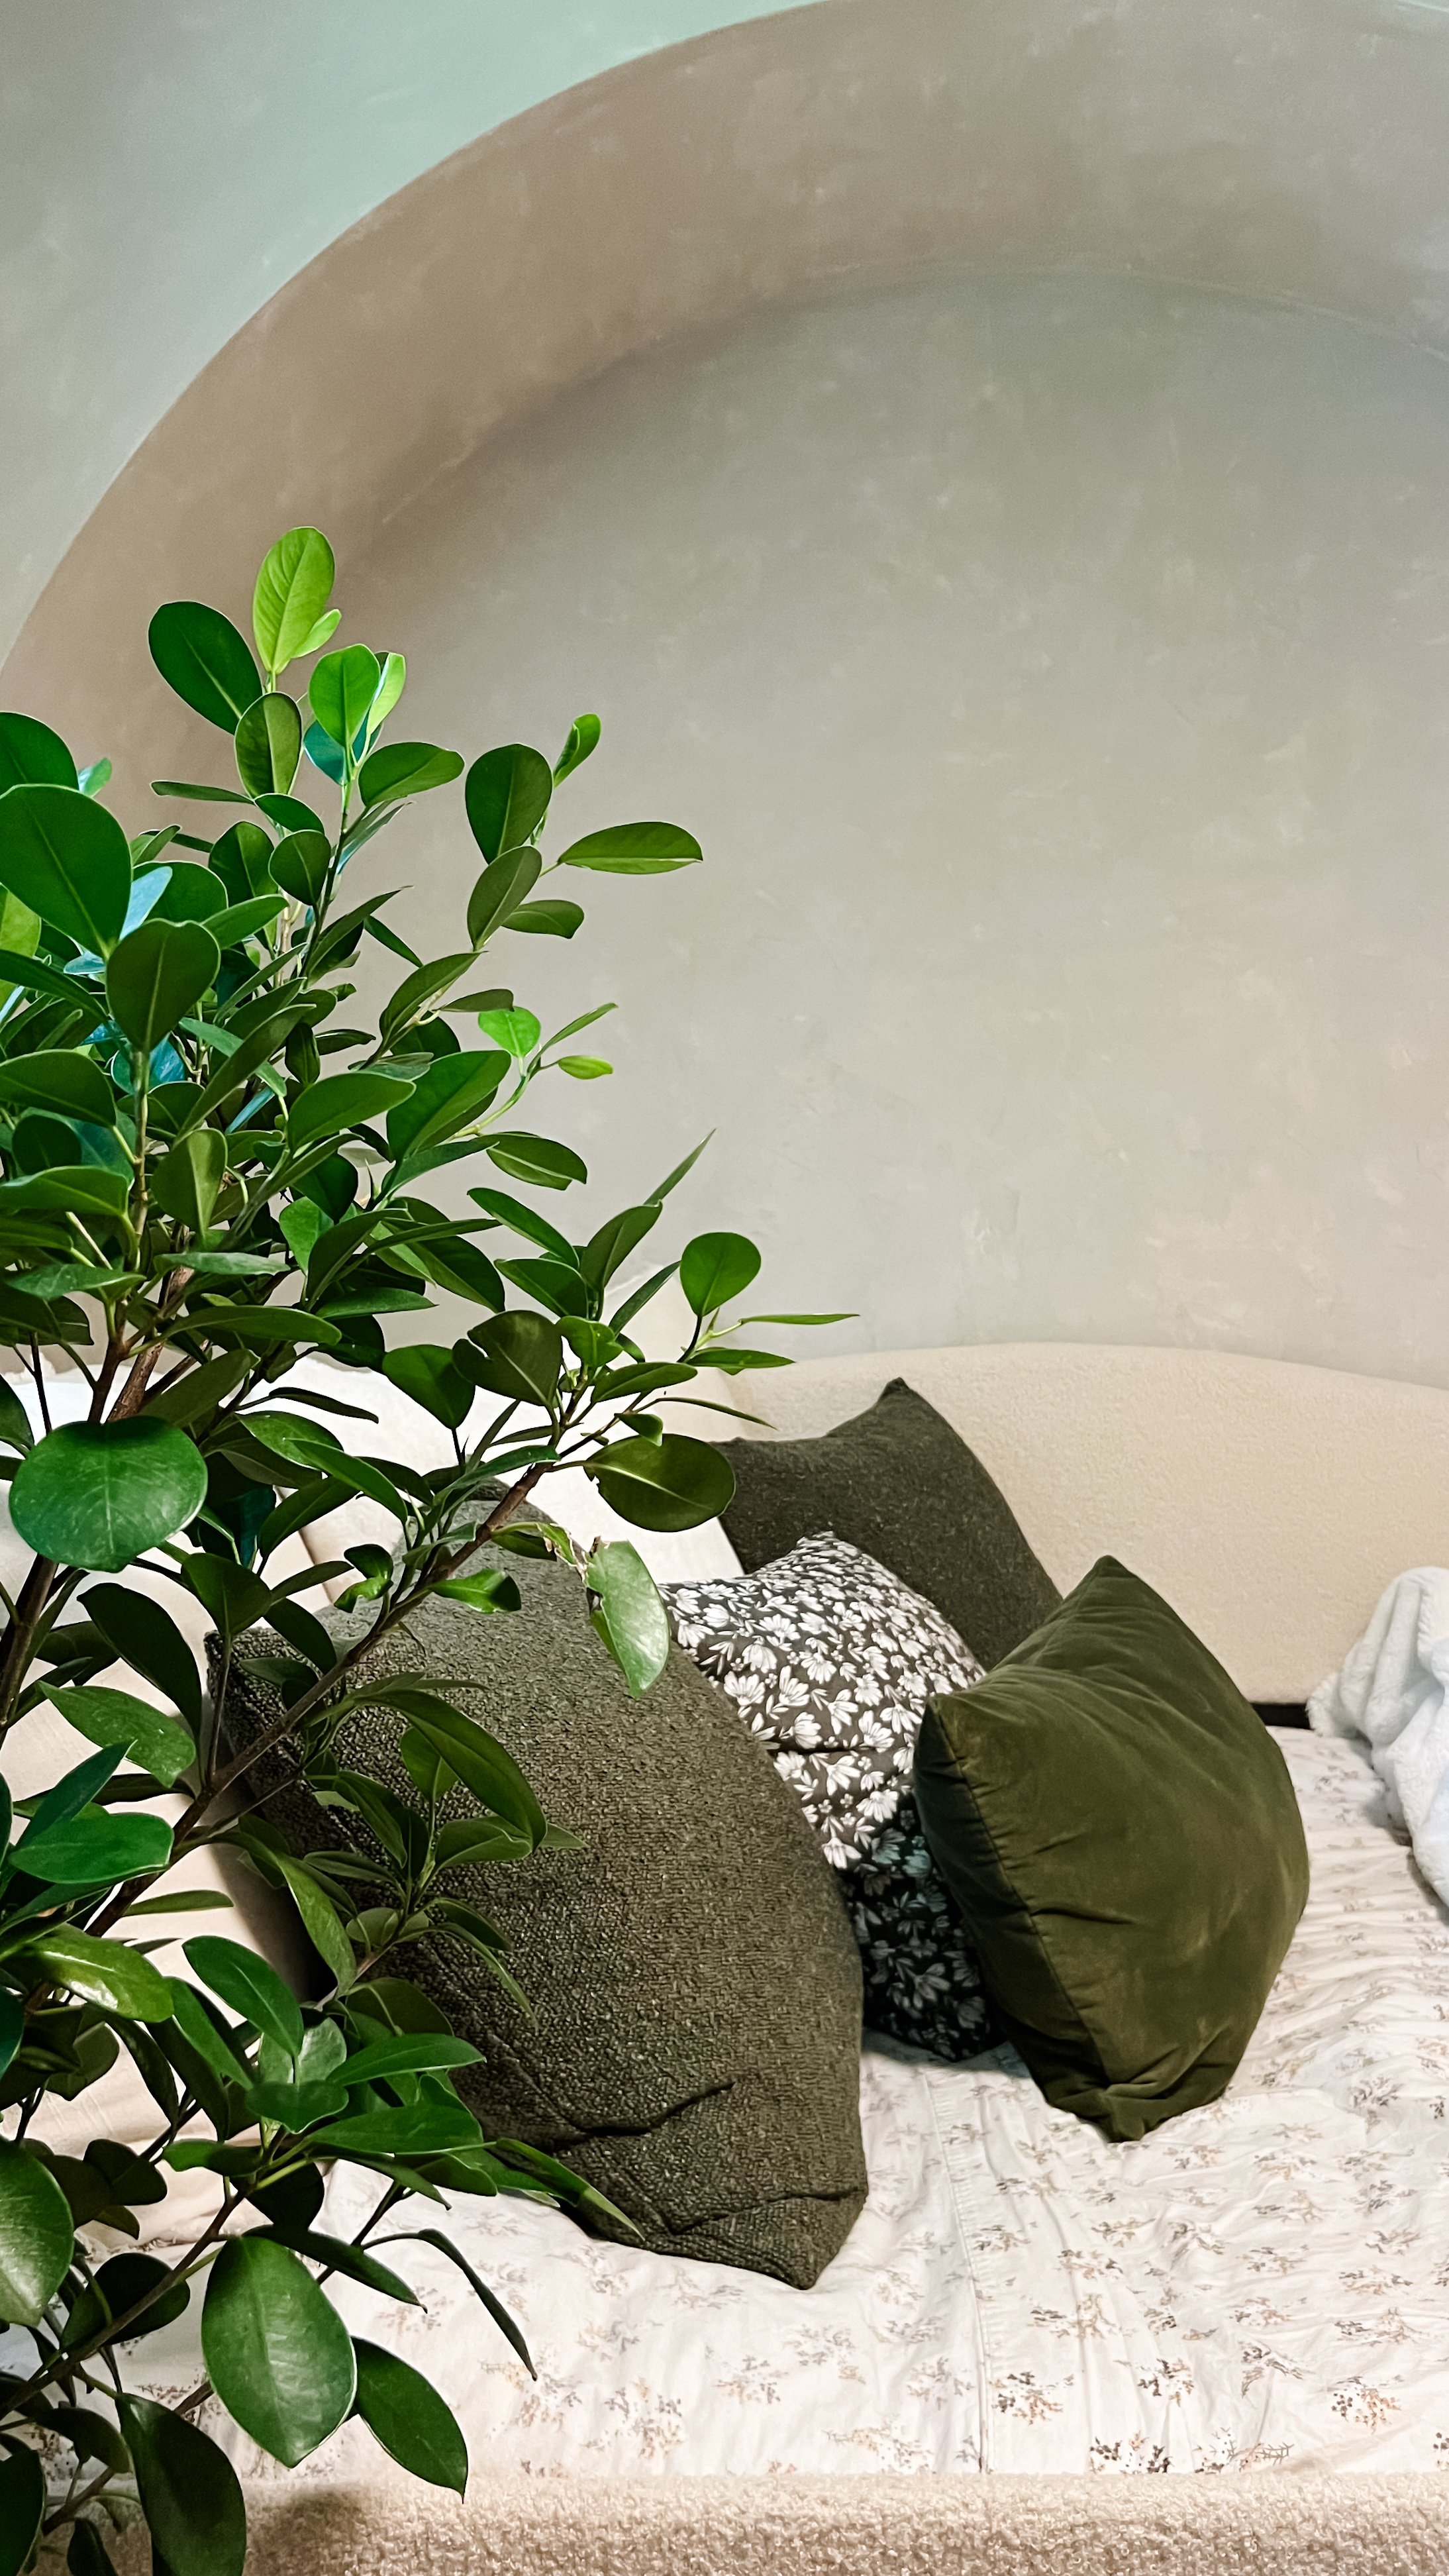
The arch is Portola Paint’s “Piano Room” Roman Clay. This was my first time using the real-deal and I was equally excited and nervous. See THIS post (coming soon!) for all the lessons learned and if I’d ever commit to the Roman clay process again.
The bed & bedding —

I am absolutely obsessed with this daybed and the pictures simply don’t do it justice. This bed is a gorgeous boucle fabric that the camera doesn’t quite catch. Plus, it has built-in charging ports and bluetooth speaker. How cool?!
The top portion is a full and the trundle underneath is a twin. We don’t (yet) have the twin trundle mattress so the gapping looks a bit extreme. Once the mattress is there, the gap will be nearly nonexistent.
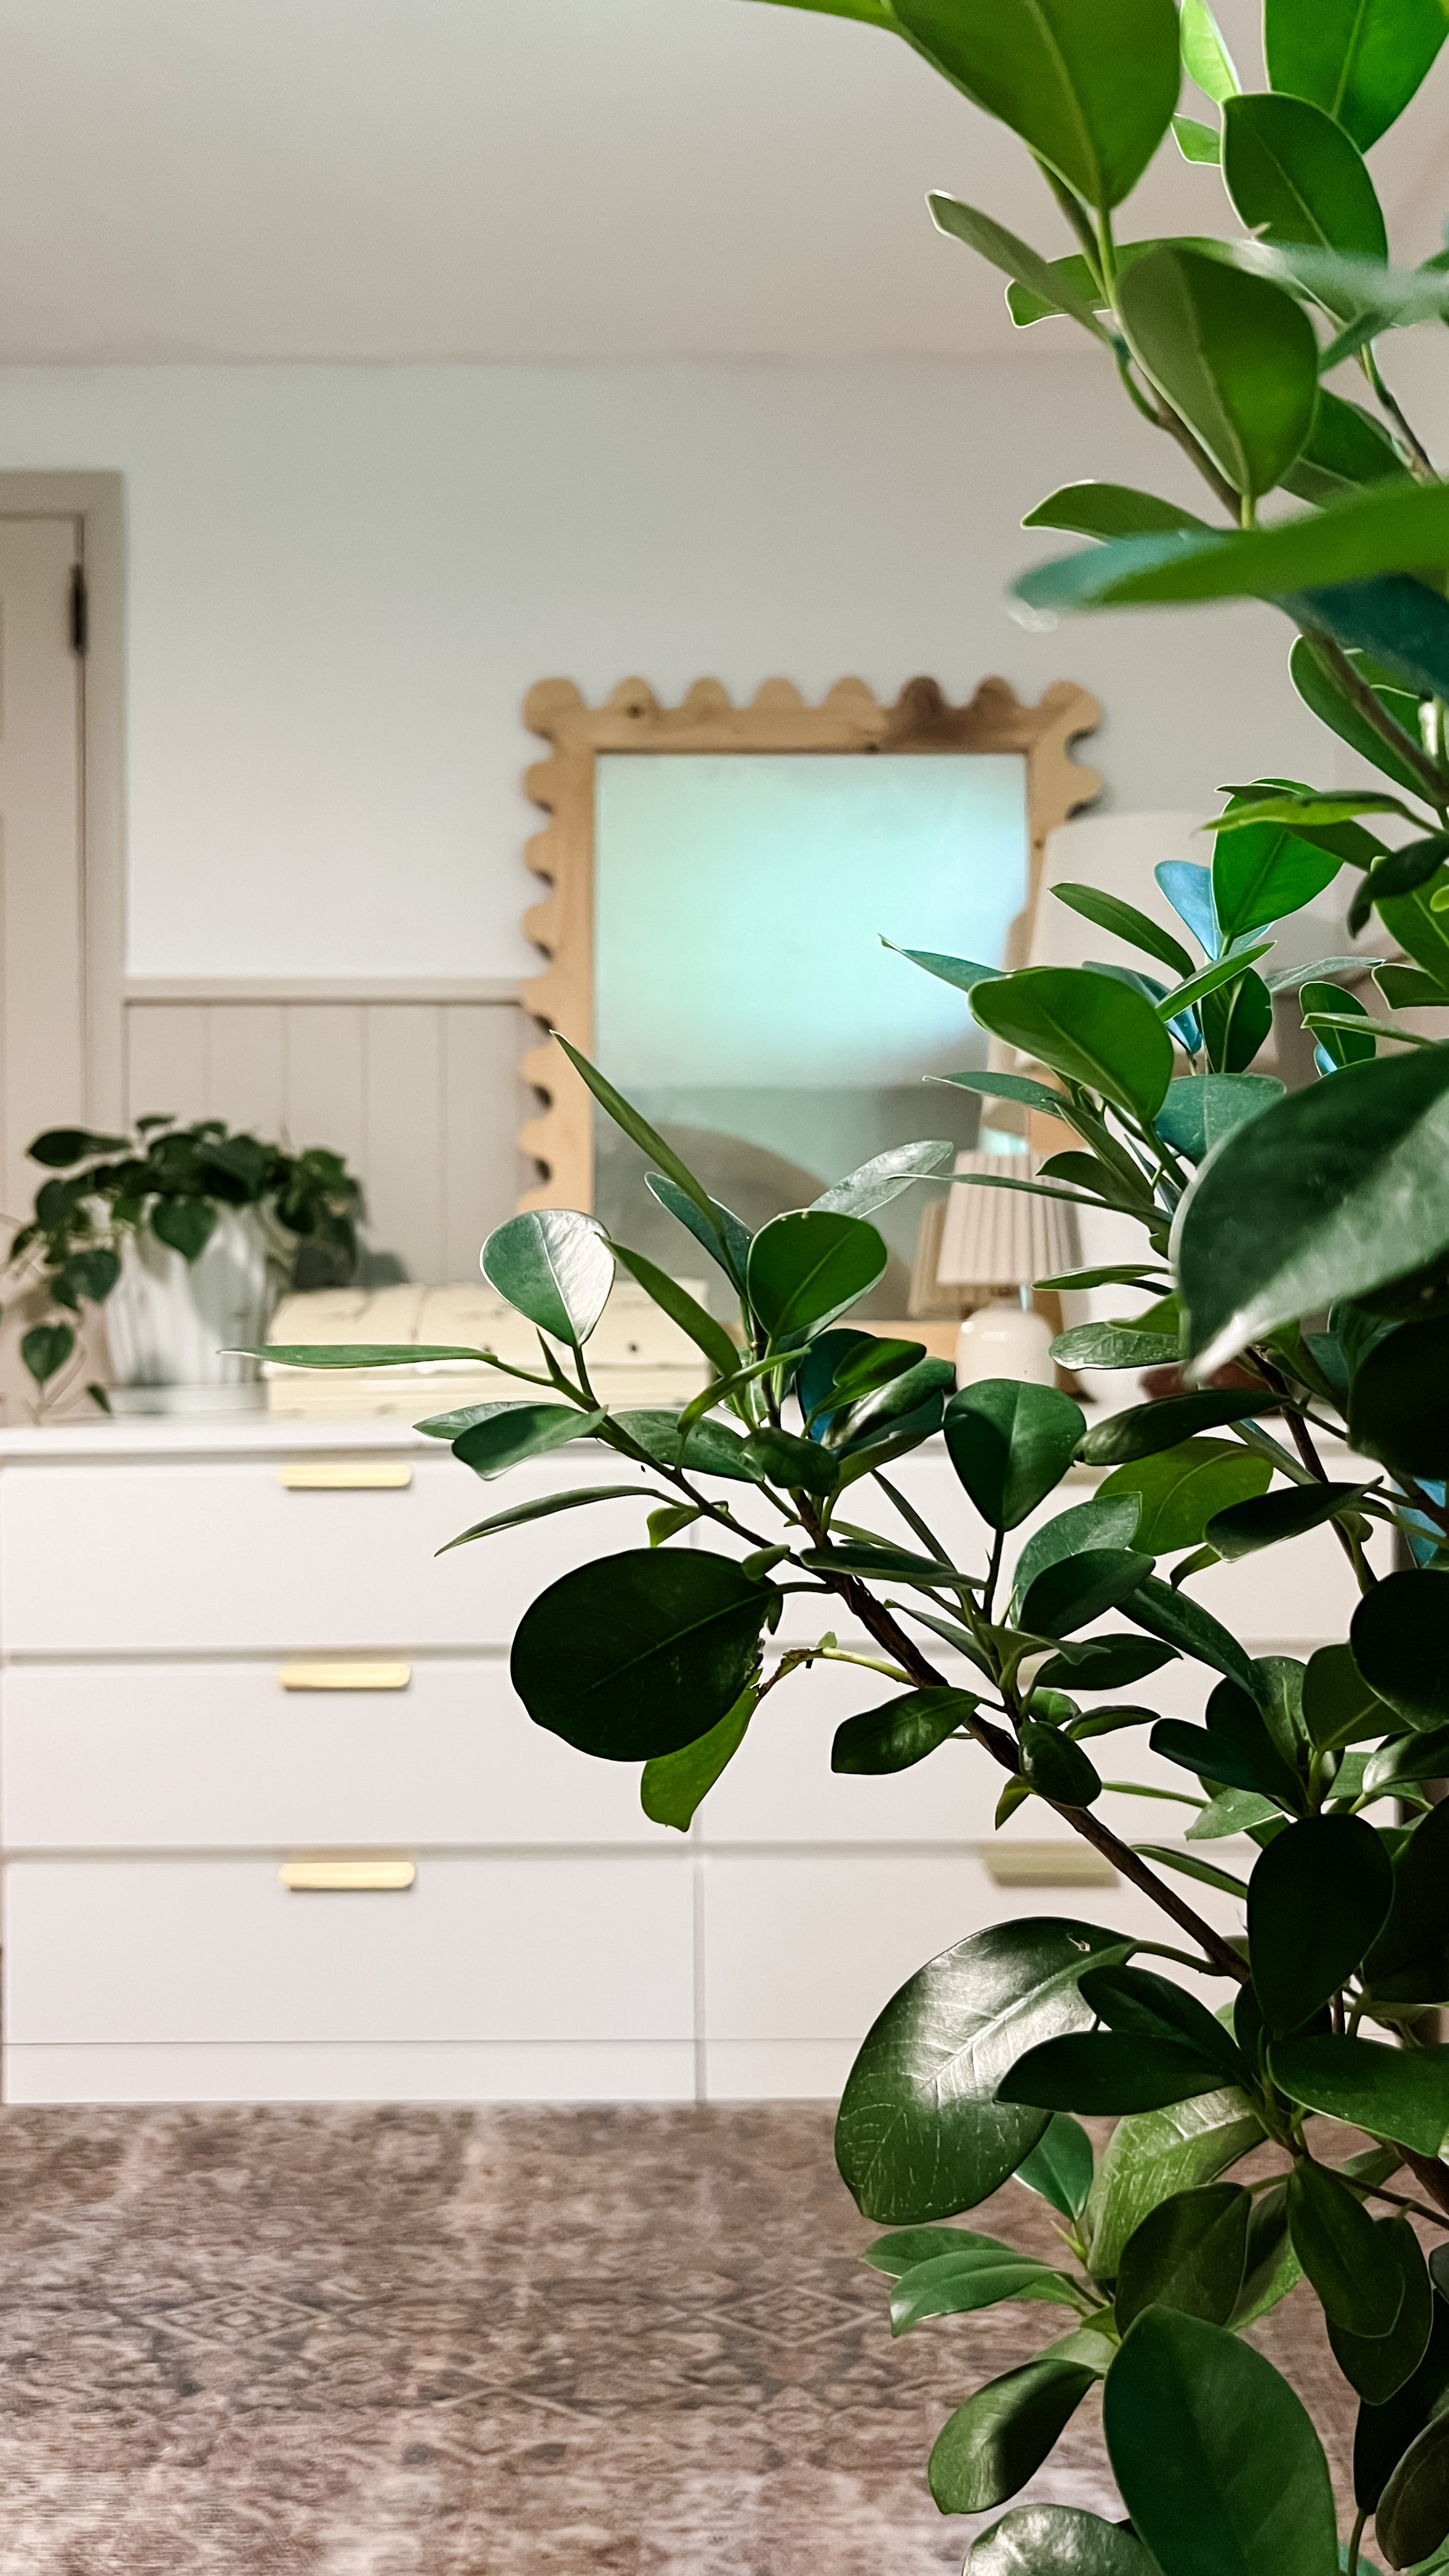
The dresser —

Most of this whole wall is custom, thrifted, or pulled from other areas of our house. Zack custom built the (what I call) “wiggle mirror” based on a Lulu and Georgia inspiration I found for nearly $600 - wild! The big lamp is a $12.99 Goodwill find. The little tin organizer is a great steal from a local antique place. The planter is an old and discontinued Target purchase.
Window treatments —
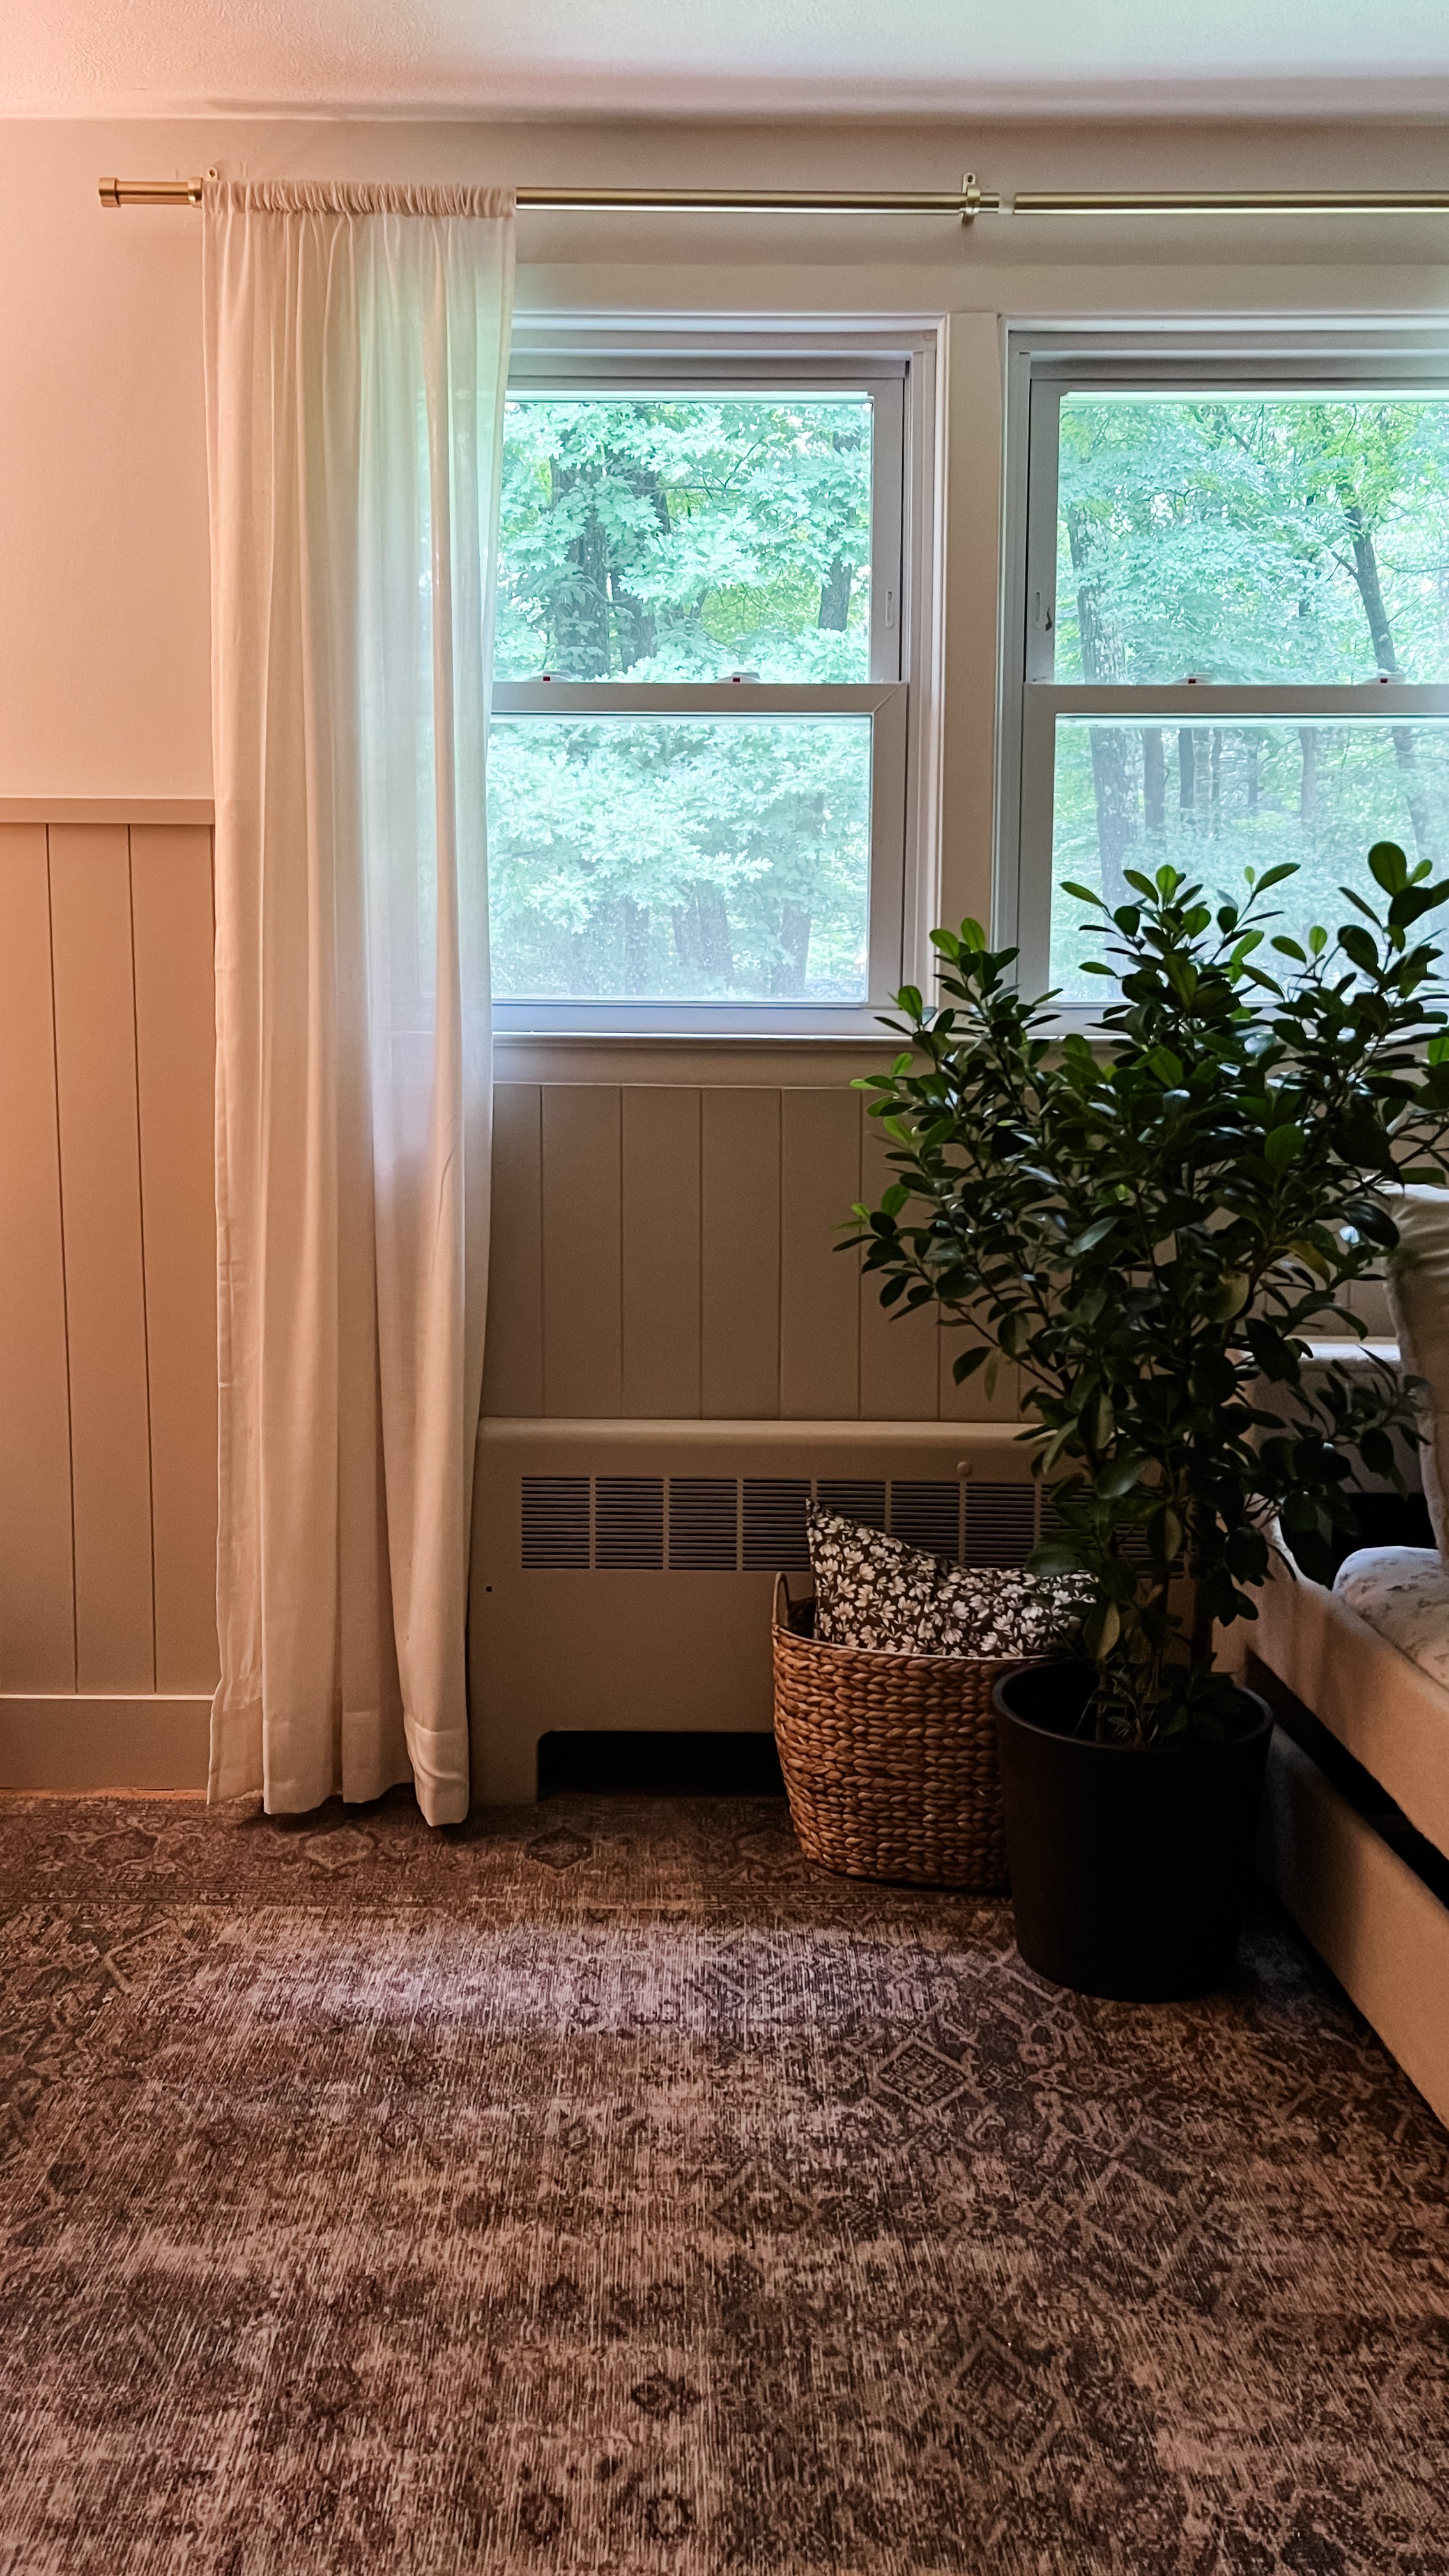
These are the only curtain rods I use throughout our house. They come in several colors and every size you could need. I already had these curtains on hand so I just used them here. I have them in the “linen” color.
Pinboards —

THIS pinboard project is one of my very favorites. After hunting for oversized pinboards for months and coming up with nothing, I made them with just a few materials and for under $100. Bonus: the project requires no power tools. It’s a great one for beginners!
Bedrooms are my favorite spaces to redo. They’re just so cozy and personal. This space is sure to be a favorite in our home and I hope it serves as a source of inspiration for your own.

An an Amazon associate, this post may contain affiliate links.