Our New Kitchen Island: How to get a sprayed-look without a sprayer

Before I get started, I want to say that the painting materials and tips within this post apply to all trim and accent paint projects - cabinets, doors, trim, wall paneling, etc.
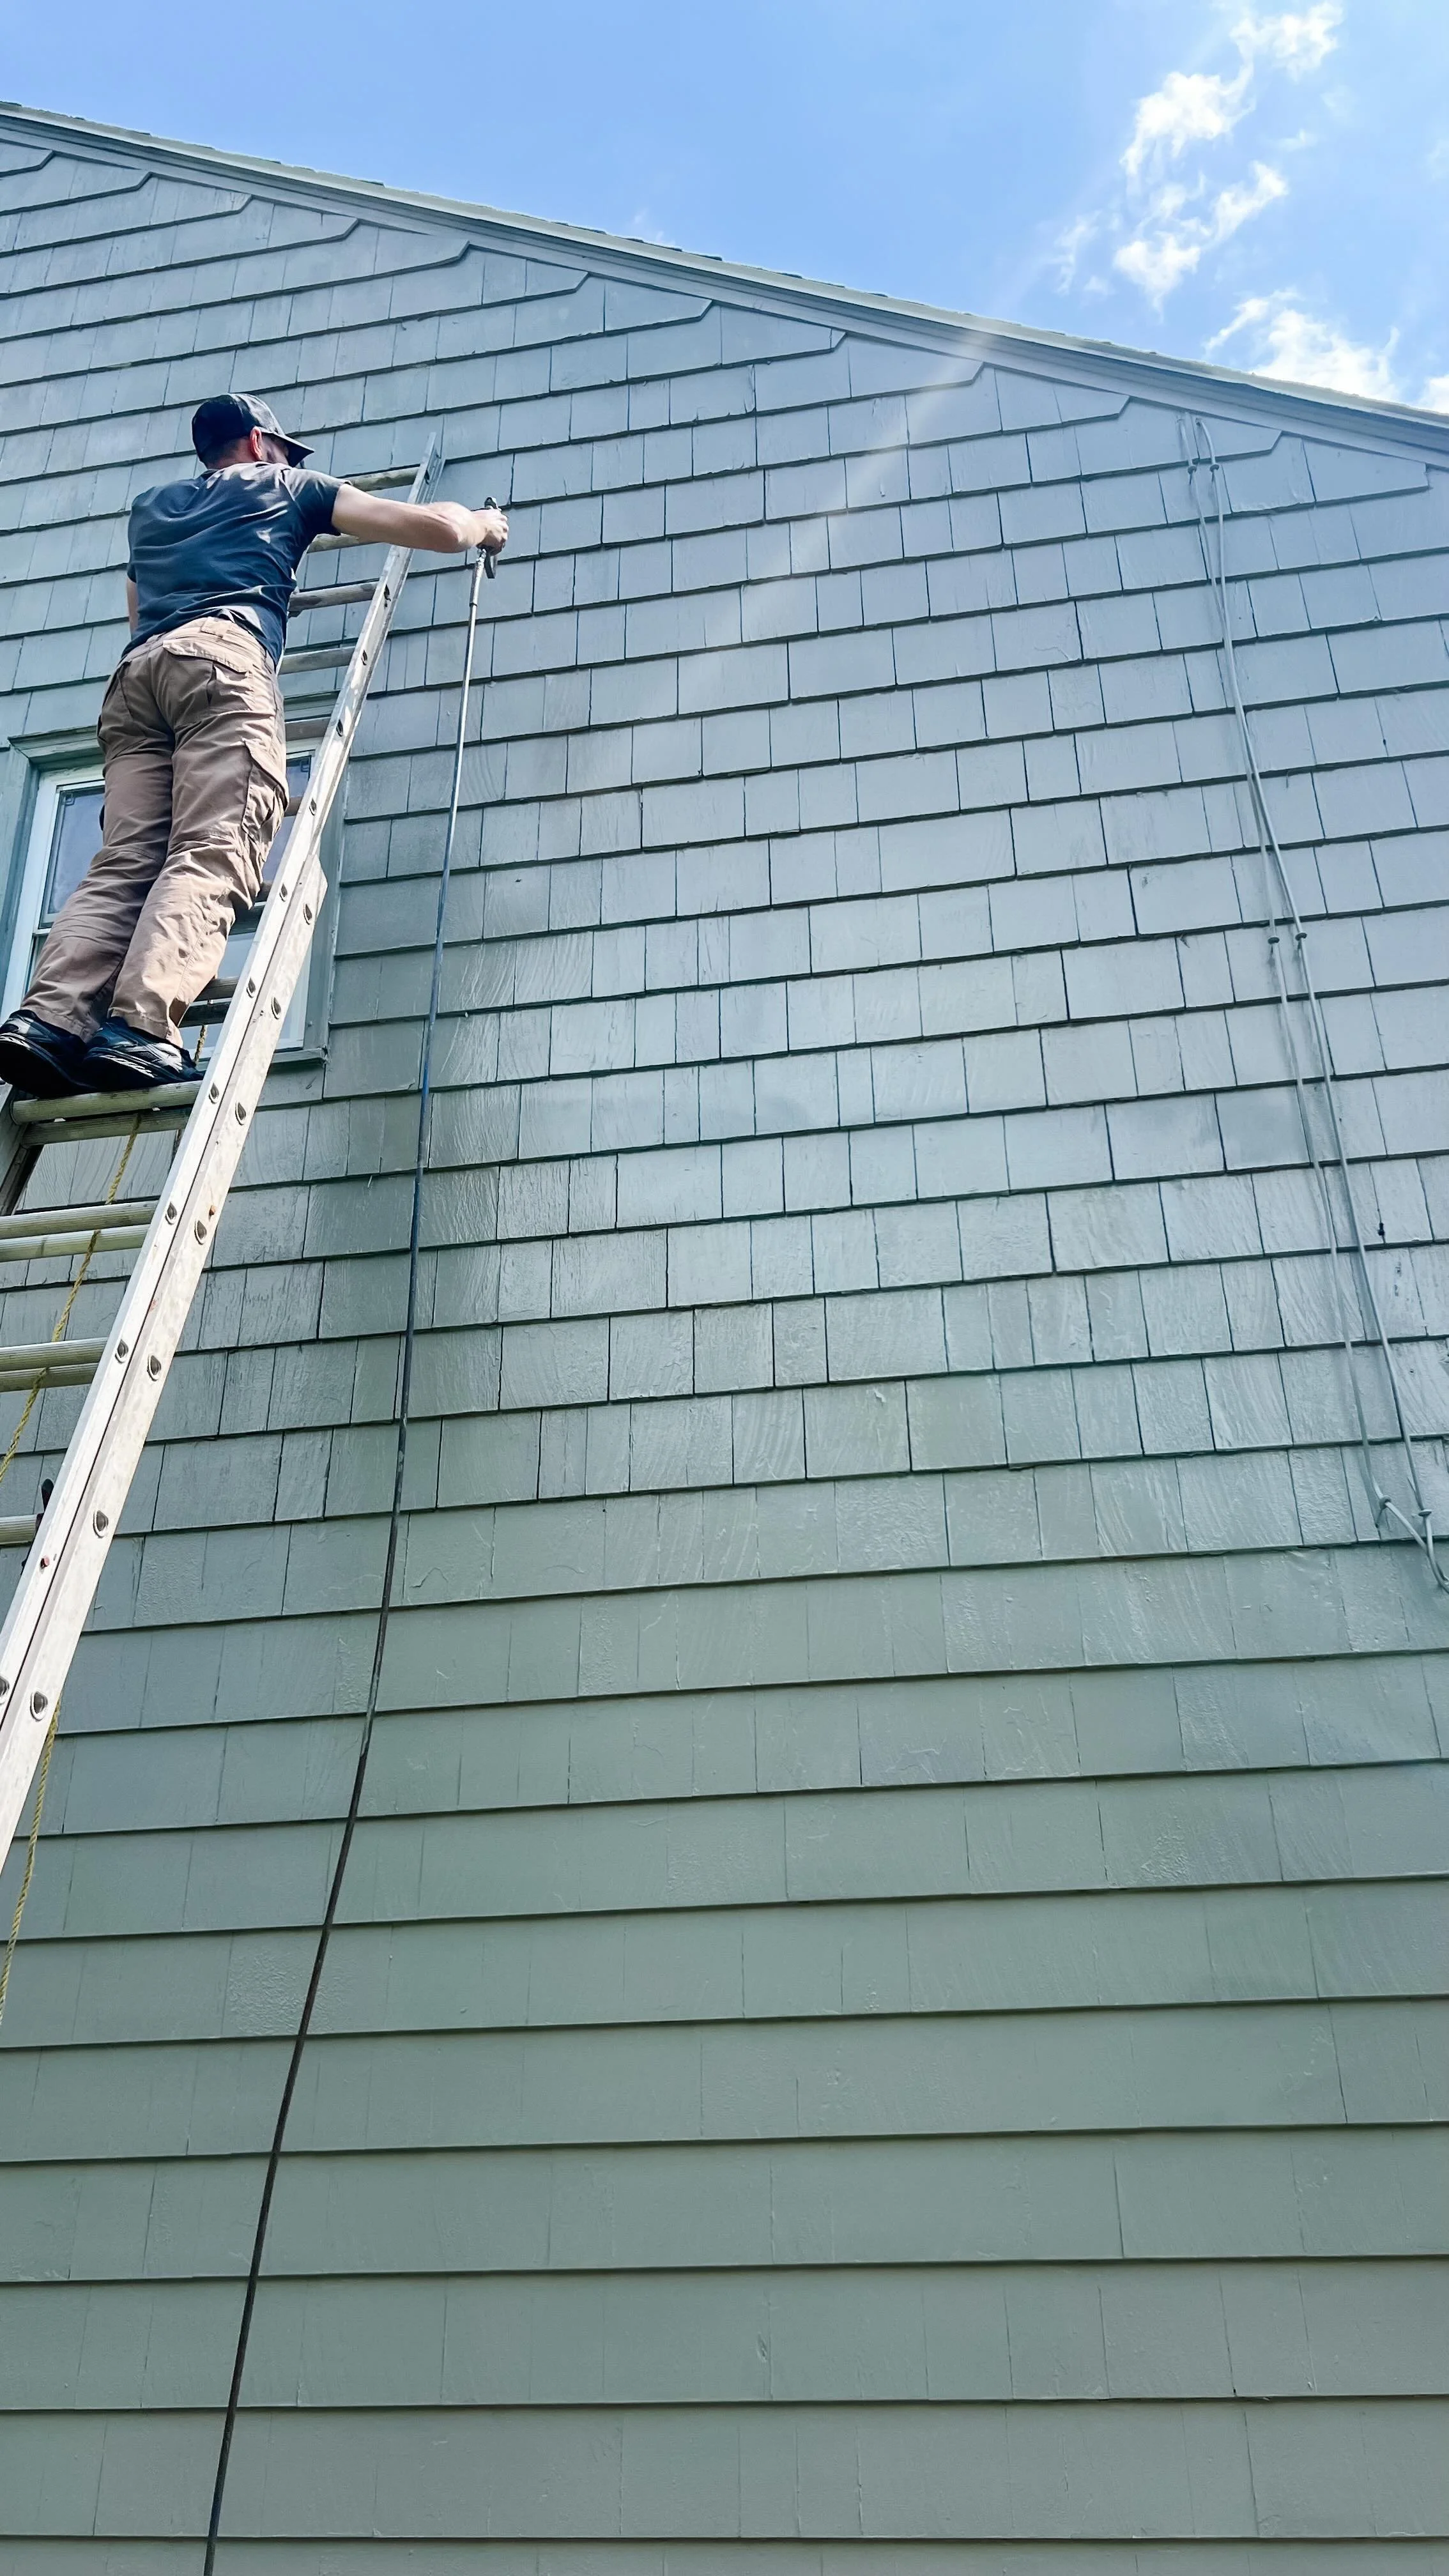
Now for the fun part - If you’ve been around or need to know anything about me it is that I avoid using power tools as much as possible. Funny enough, I include paint sprayers in that, too. Paint sprayers can be incredibly helpful. They offer the smoothest finish, quick application, and an overall beautiful final project.
I just finished painting our kitchen island (for the second time) and I love it! Many were shocked that I wasn’t spraying it. I simply hand-painted and rolled it. While I fully recognize the many benefits of paint sprayers, they aren’t always appropriate for every project.
Common reasons not to use a sprayer:
The cost. Sprayers aren’t all that affordable. Most run between $100-$200 with some being well over $600.
The know-how. Sprayers aren’t totally user-friendly. There are wires, hoses, different cartridges, etc. They can definitely be a confusing tool to operate and I don’t want to even mention the cleaning process - oiy vey!
The time. To spray a piece, you have to prep, prep, and prep some more. Everything needs to be either taken out or taped up and covered.
But here’s the thing —
If you’re like me and not willing to invest your finances in a sprayer or your time in all the prep, you at least need to invest in your paint and a few other products.

Purdy brush / Purdy mini roller / Purdy handle / Roller cup / Sanding blocks / Stirring sticks / Zinsser Primer / Advanced Paint by BM / Cashmere Paint by Sherwin Williams / Water-based Polyurethane / Sprayer if you are in the market
The how-to
Prep
While spraying certainly requires a lot more prep work than painting with a brush or roller, there is still prep work required.
In order to have any kind of success while painting, you have to clean and sand the surface. If the surface isn’t overly dirty, I typically just use my regular household cleaner.
For sanding, the state of the piece really makes all the difference. If the surface is clean with little-to-know imperfections, an easy scuffing with sanding blocks like these will do the trick. If you have peeling paint or cracked seams, more repair is necessary. Be sure to remove chipped paint, seperated caulk, fill holes, and sand smooth.
Starting with a clean and smooth surface is half the battle to a successful paint project! Take time to get your piece situated and it’ll pay off in the long run.

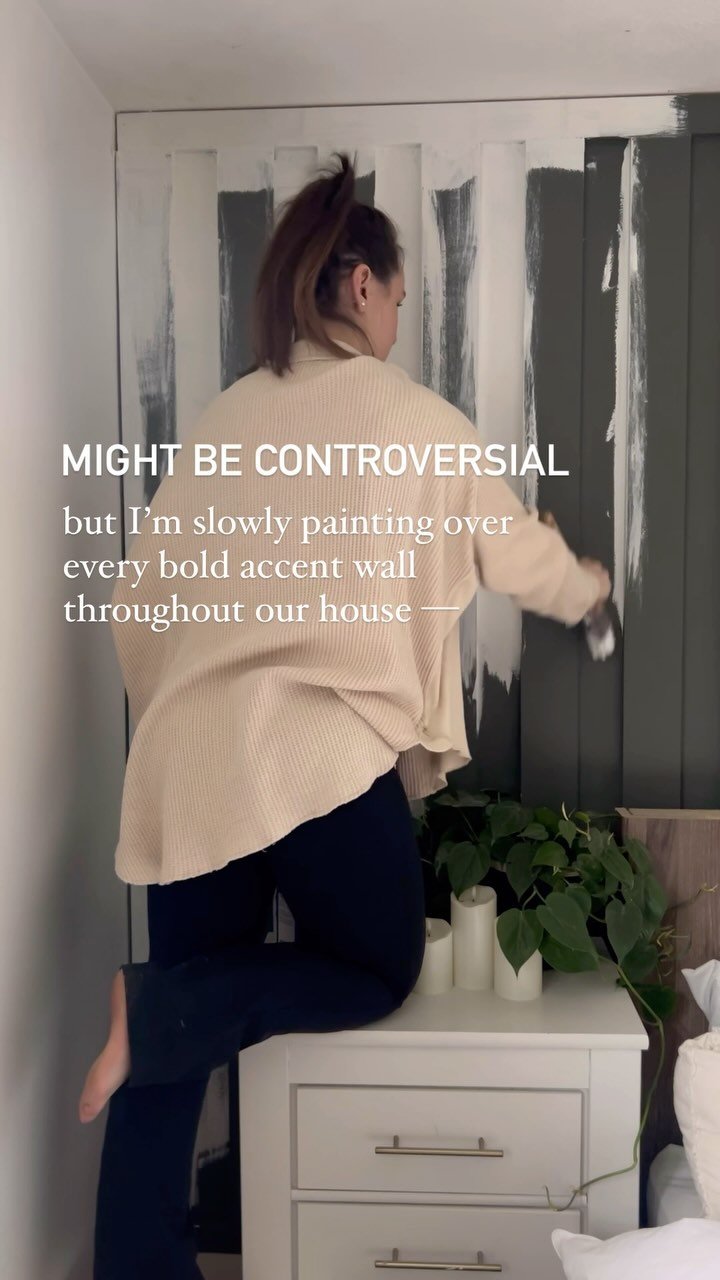
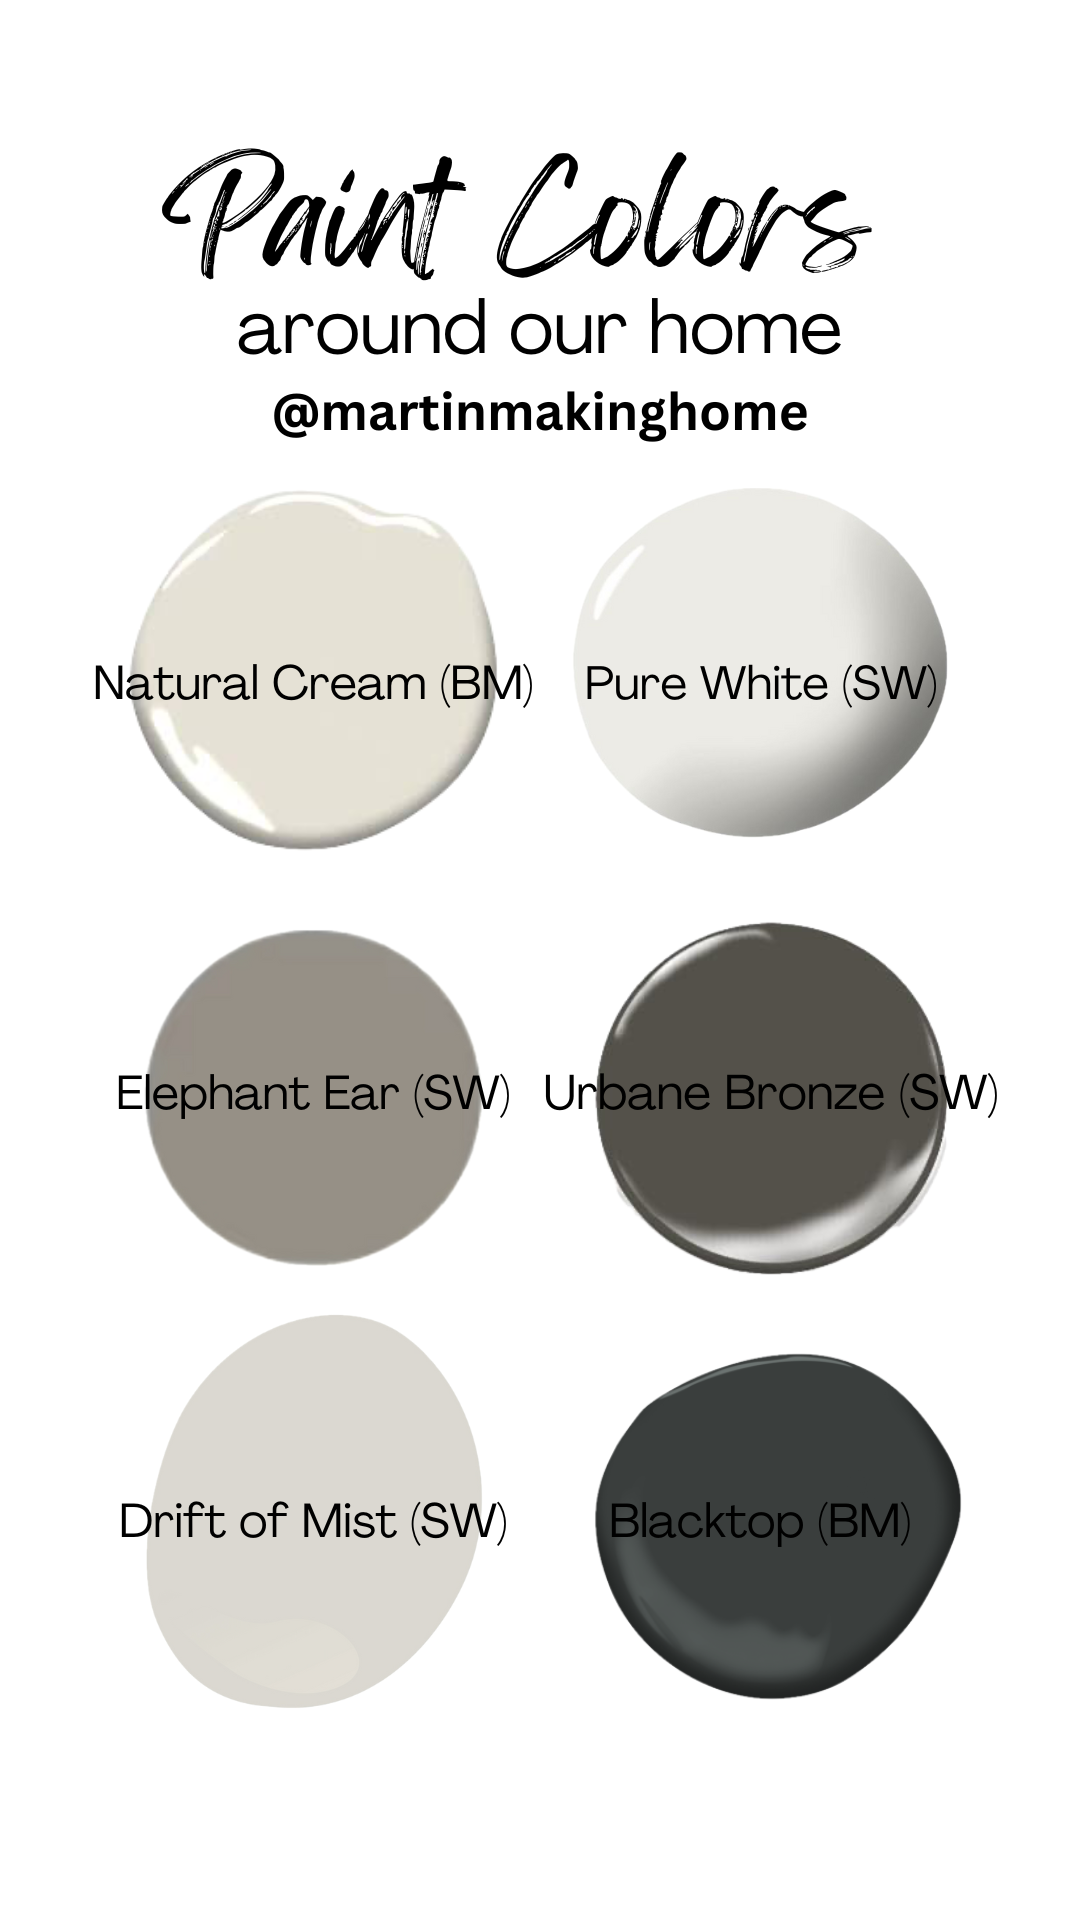
Island color: Elephant Ear by Sherwin Williams
As an added tip - prep also includes ensuring you’re not painting things that aren’t supposed to be painted - outlet covers, hinges, furniture hardware, etc.
Primer & Paint Quality
There are a lot of things that I’m willing to cut corners and cost on. Paint quality simply isn’t one of them. I have found that using quality, self-leveling paint really makes all the difference.
Favorite Primer: Zinsser (linked HERE on Amazon) or you can grab it from your local Walmart, Home Depot, or Lowes.
Favorite Paint for Doors, Cabinets, and Trim:
Advanced by Benjamin Moore. This paint is part water-based and part oil-based. This is truly my favorite paint I’ve ever used. The coverage is insane and the quality is unmatched. It leaves a beautiful finish. Just know that you have to wait 24 hours between coats to ensure it fully sets up because of the oil-based quality in it.
Cashmere by Sherwin Williams. This option is entirely water-based and offers an incredibly smooth finish. It is rich, thick, and layers perfectly flat.
Painting Tips
TIP #1 - The two-handed trick. I often joke that I paint two-handed. I always have a paintbrush and roller going at the same time.
Here’s why —
To paint cabinets, doors, and trim, you have to cut in corners, sides, and little nooks and crannies. I always cut in first. Here is where the two-handed trick comes into play. Immediately after cutting in, roll over the brush strokes. Rolling over brush strokes guarantees the smoothest and most professional-looking surface.
And no, even the best-of-the-best paint and brushes (like this Purdy Clear Cut) can leave behind brush marks. A quality paint brush can certainly help but it isn’t the fix to all things paint. Rolling over brush strokes immediately after leaving them is my best-kept painting trick.

Office trim: Iron Ore by Sherwin Williams
TIP #2 - Load up your brush and roller. It’s often misunderstood that adding too much paint limits the control you have - especially when cutting in. It’s simply not the case. You’ll actually make more mistakes with too little paint than too much. Be sure to have enough paint on your brush/roller to actually get it to spread. If you have to press in and push down, the paint is less likely to go on smooth and lay flat.
Plus, adding more to your brush and roller is going to guarentee less coats.
Side note: I always do at least two coats - even if the paint claims only 1 is needed.
TIP #3 - Let the paint dry. No, seriously. Actually let the paint dry and cure fully before adding another coat. Prematurely adding another coat can lift paint, create additional air bubbles, and just make a mess.
TIP #4 - Lightly sand between coats. I know, I know. No one wants to do this step but it really does make all the difference. Remember, a light sanding isn’t taking any paint off. It’s simply smoothing any raised grain or small imperfections that may have come up.

Color Inspiration
Honestly, invest in quality paint and products and just be sure to take your time. Your next project will look incredible.
Disclaimer: as an Amazon Associate I may earn a commission on qualifying purchases.
as always — remember to head over to Instagram where you can find other ideas to turn the house you can afford into the home of your dreams.