

Dining Room Revamp
We’ve been in our home since December 2020 and this dining room has seen 3 very distinct iterations. Over the past few years, I’ve come to realize that some of my biggest design mistakes come from rushing. I often want a change so I do the first thing that is easiest, cheapest, or quickest. More often than not, these are never the options you want to be led by.
After redoing this room (the first time) I immediately knew it wasn’t right. Accepting my own mistake, I mustered up the courage to tell Zack what I was really thinking and what I truly wanted.
Today, in my sun visor, I keep a note in my car that Zack wrote me. In it, he mentions his promise to build me our dining room banquette. I keep it there because it’s a perfect testament to us and our marriage. I come up with these wild ideas and although he has a million questions and hesitations, he trusts the inclination.
Building the banquette and bench seat is a whole other conversation. It is one of my favorite builds because it truly is so purposeful and functional but honestly, it is so specific to our particular space, we need to broaden out. I’d like to share some of the general details and add-ins that you can re-create today in your own home.
So, here is how we turned an awkward, long, inset wall into our cozy little dining space.
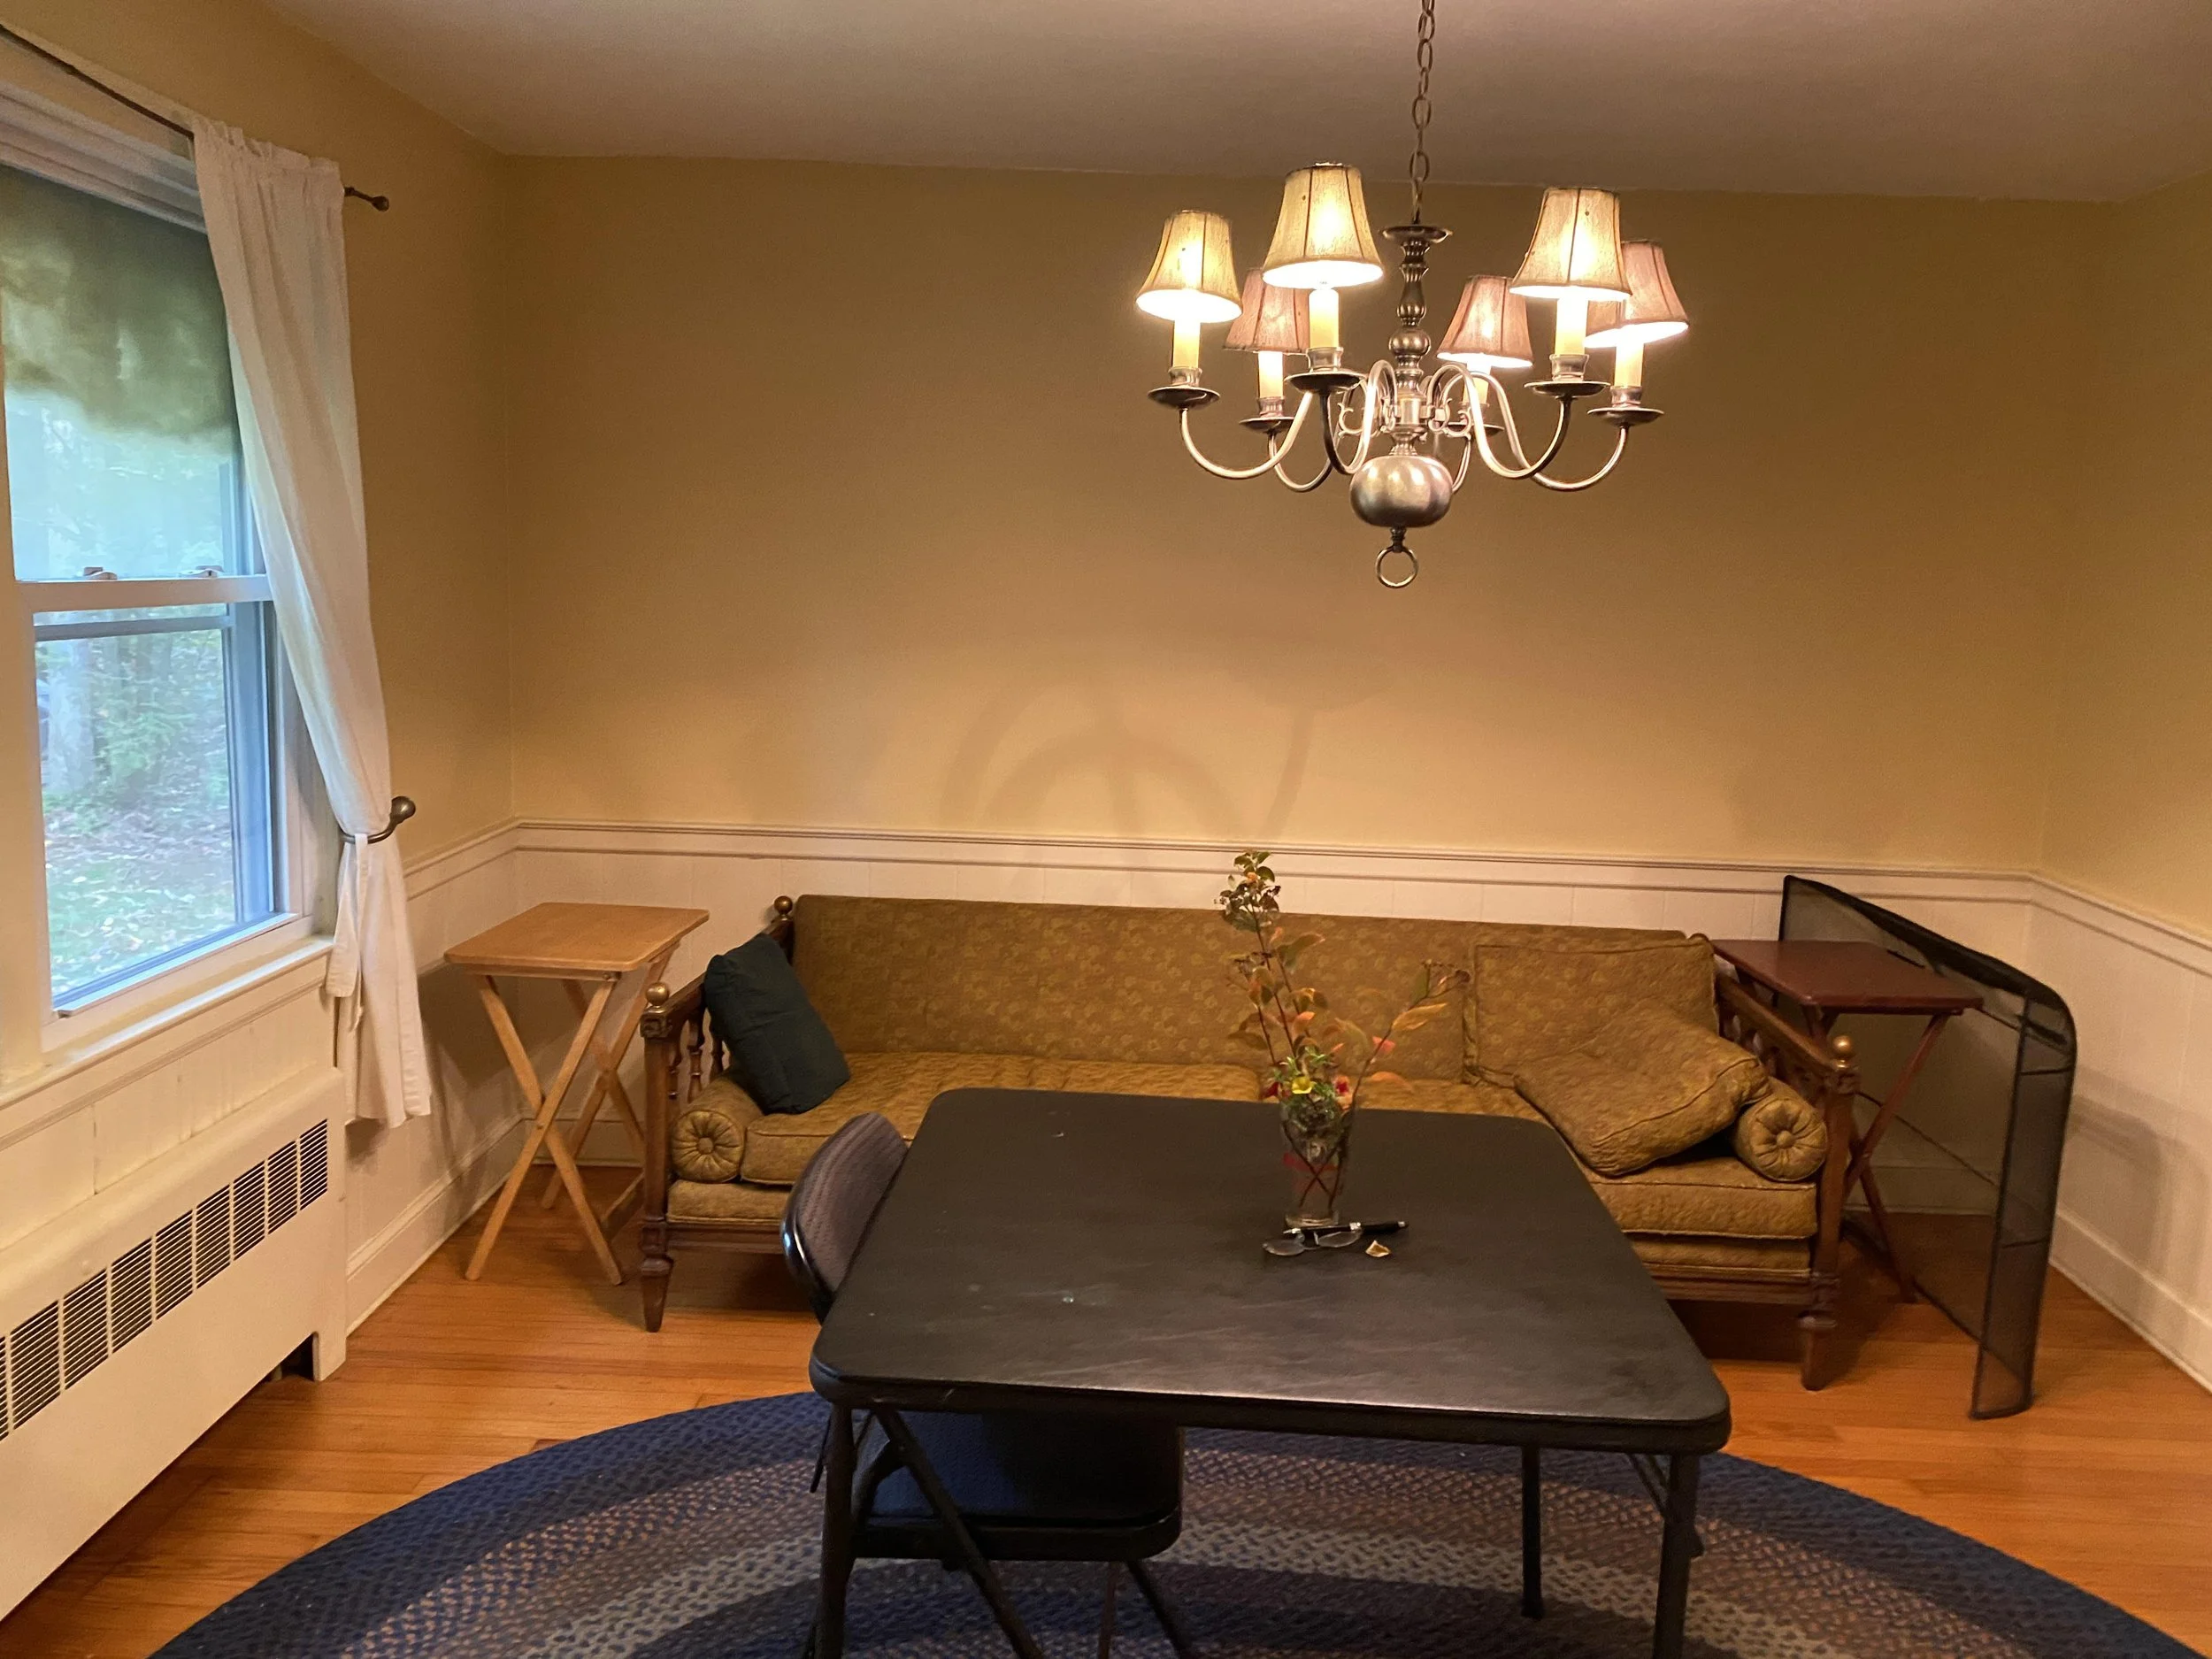
Listing photo of the space
How we began converting it (almost 2 years ago)


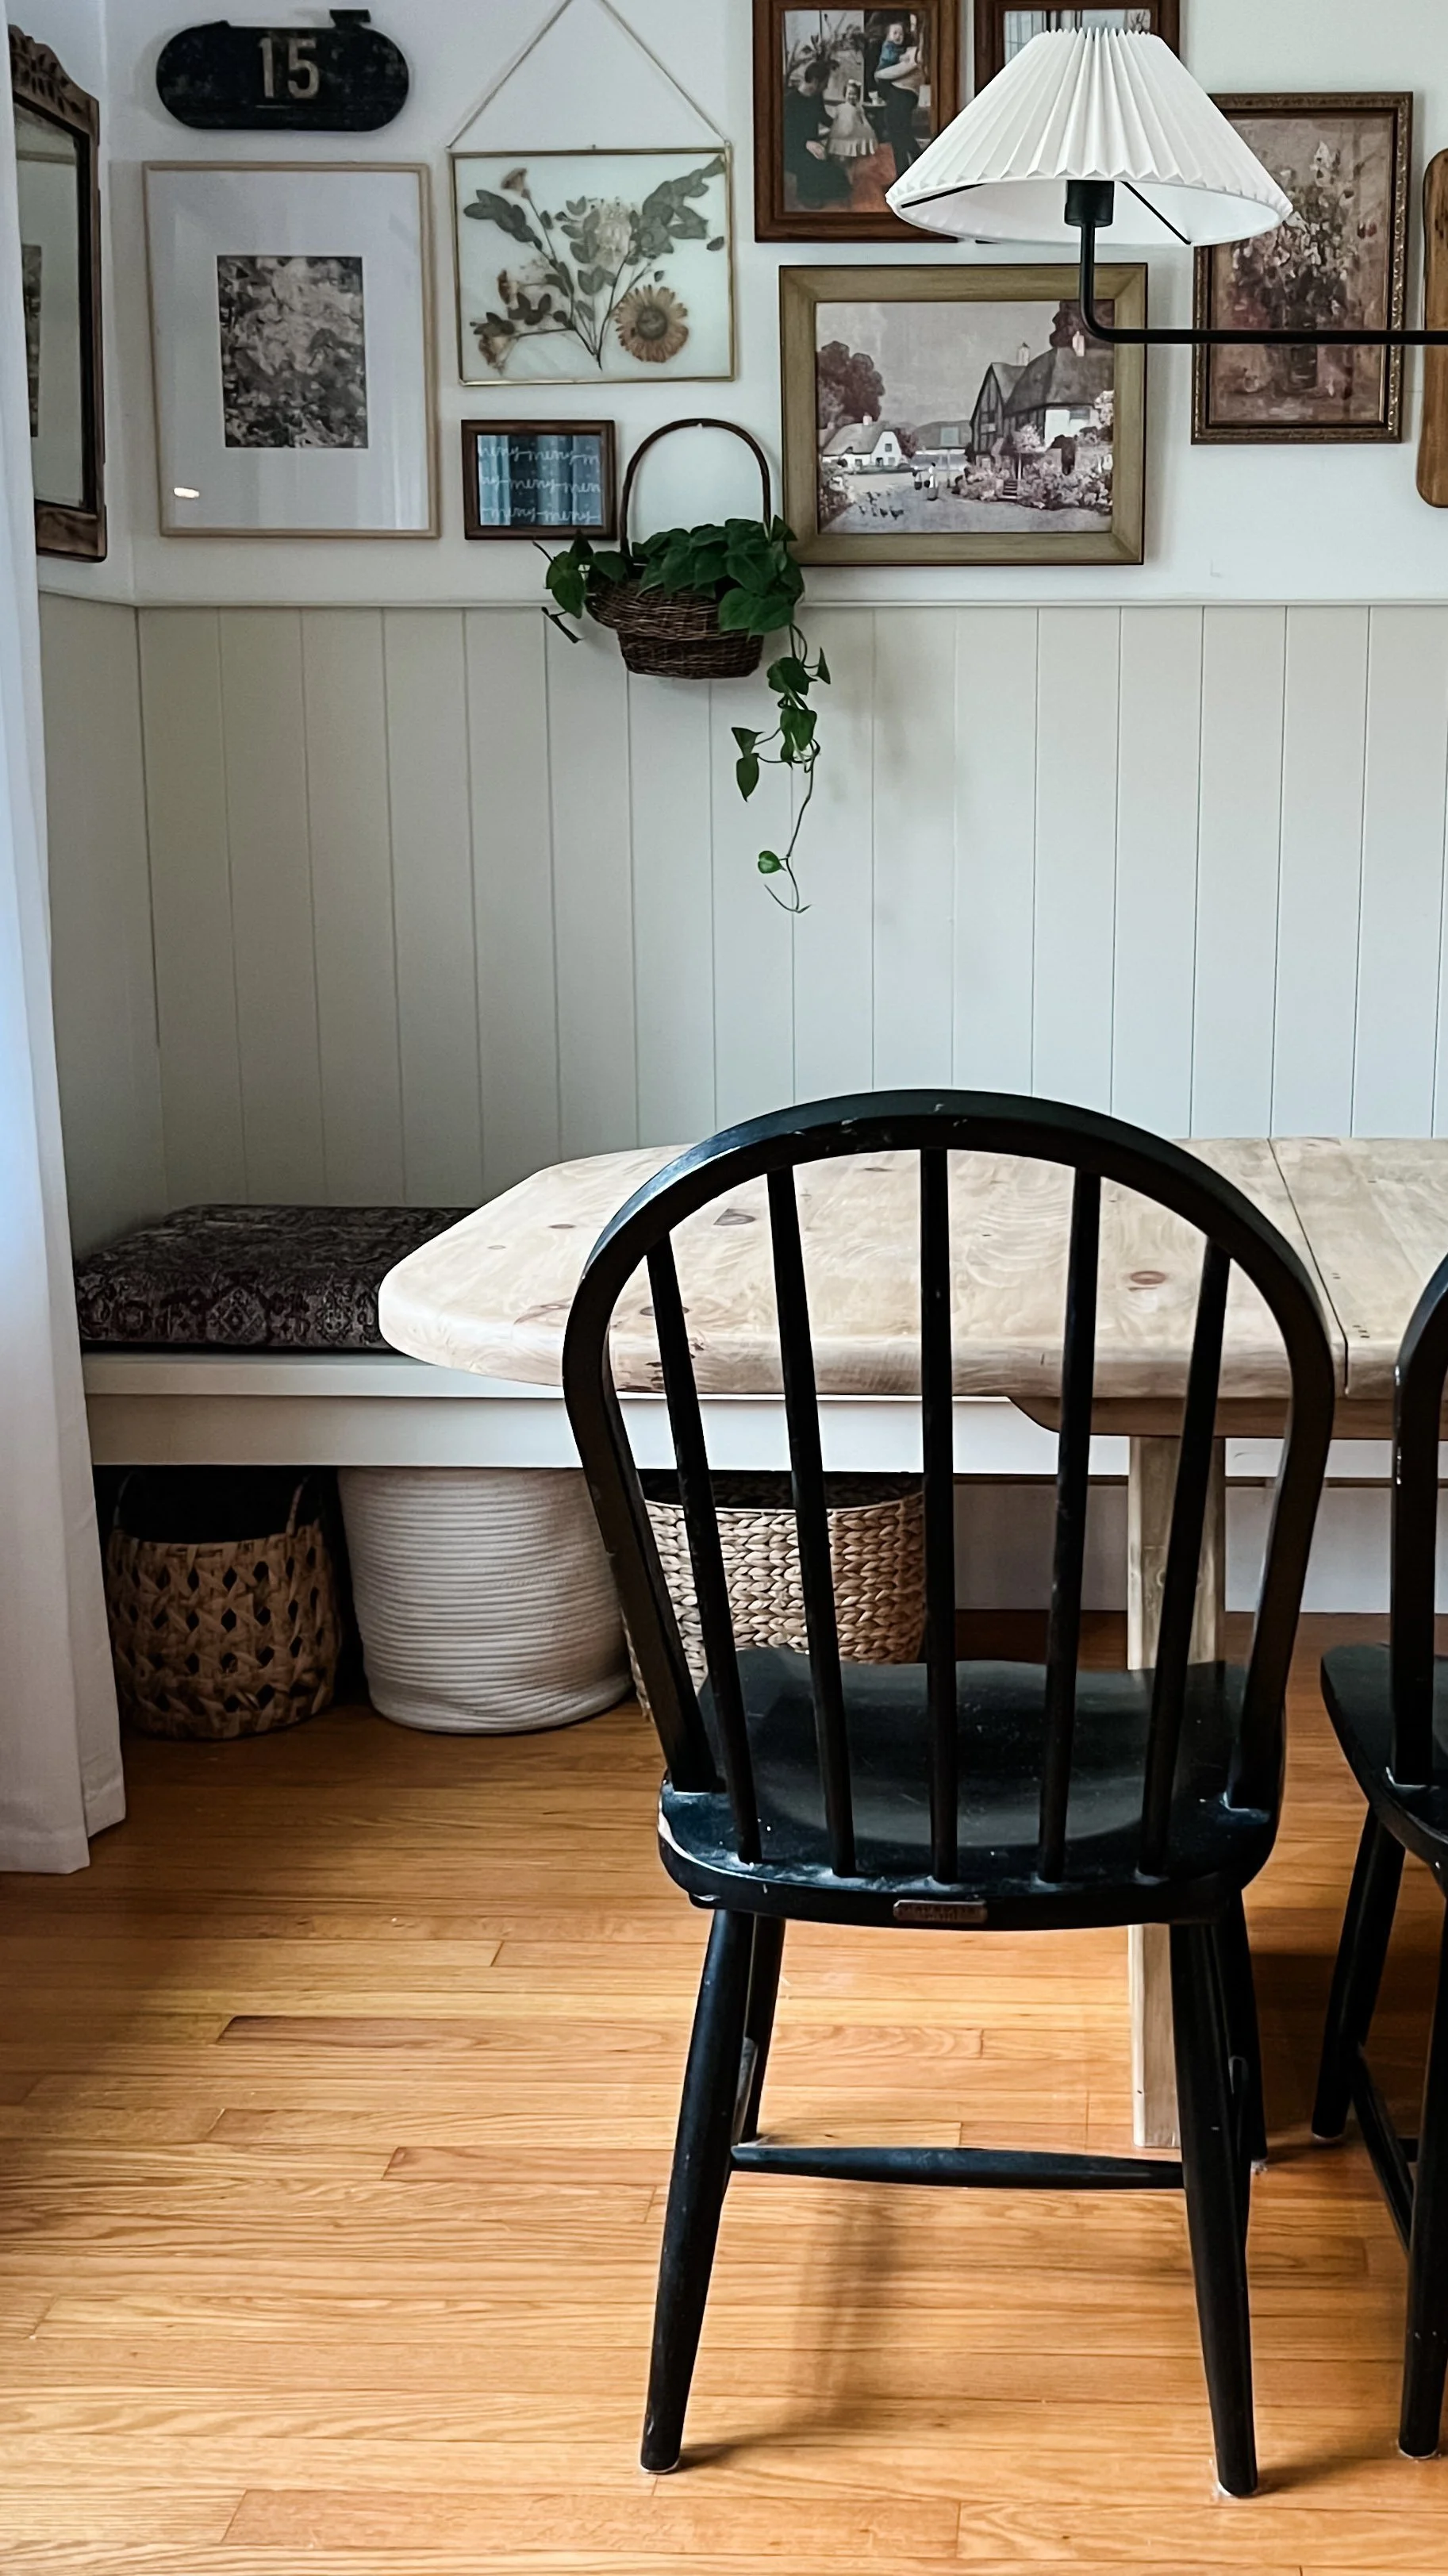
Today
I absolutely love how this space turned out. This room is really important to the entire main floor of our home because you can see it from the kitchen and living room equally. Wherever you go, the dining area is there. Plus, we love having family dinners and game nights so a comfy, cozy area for chatting is key.
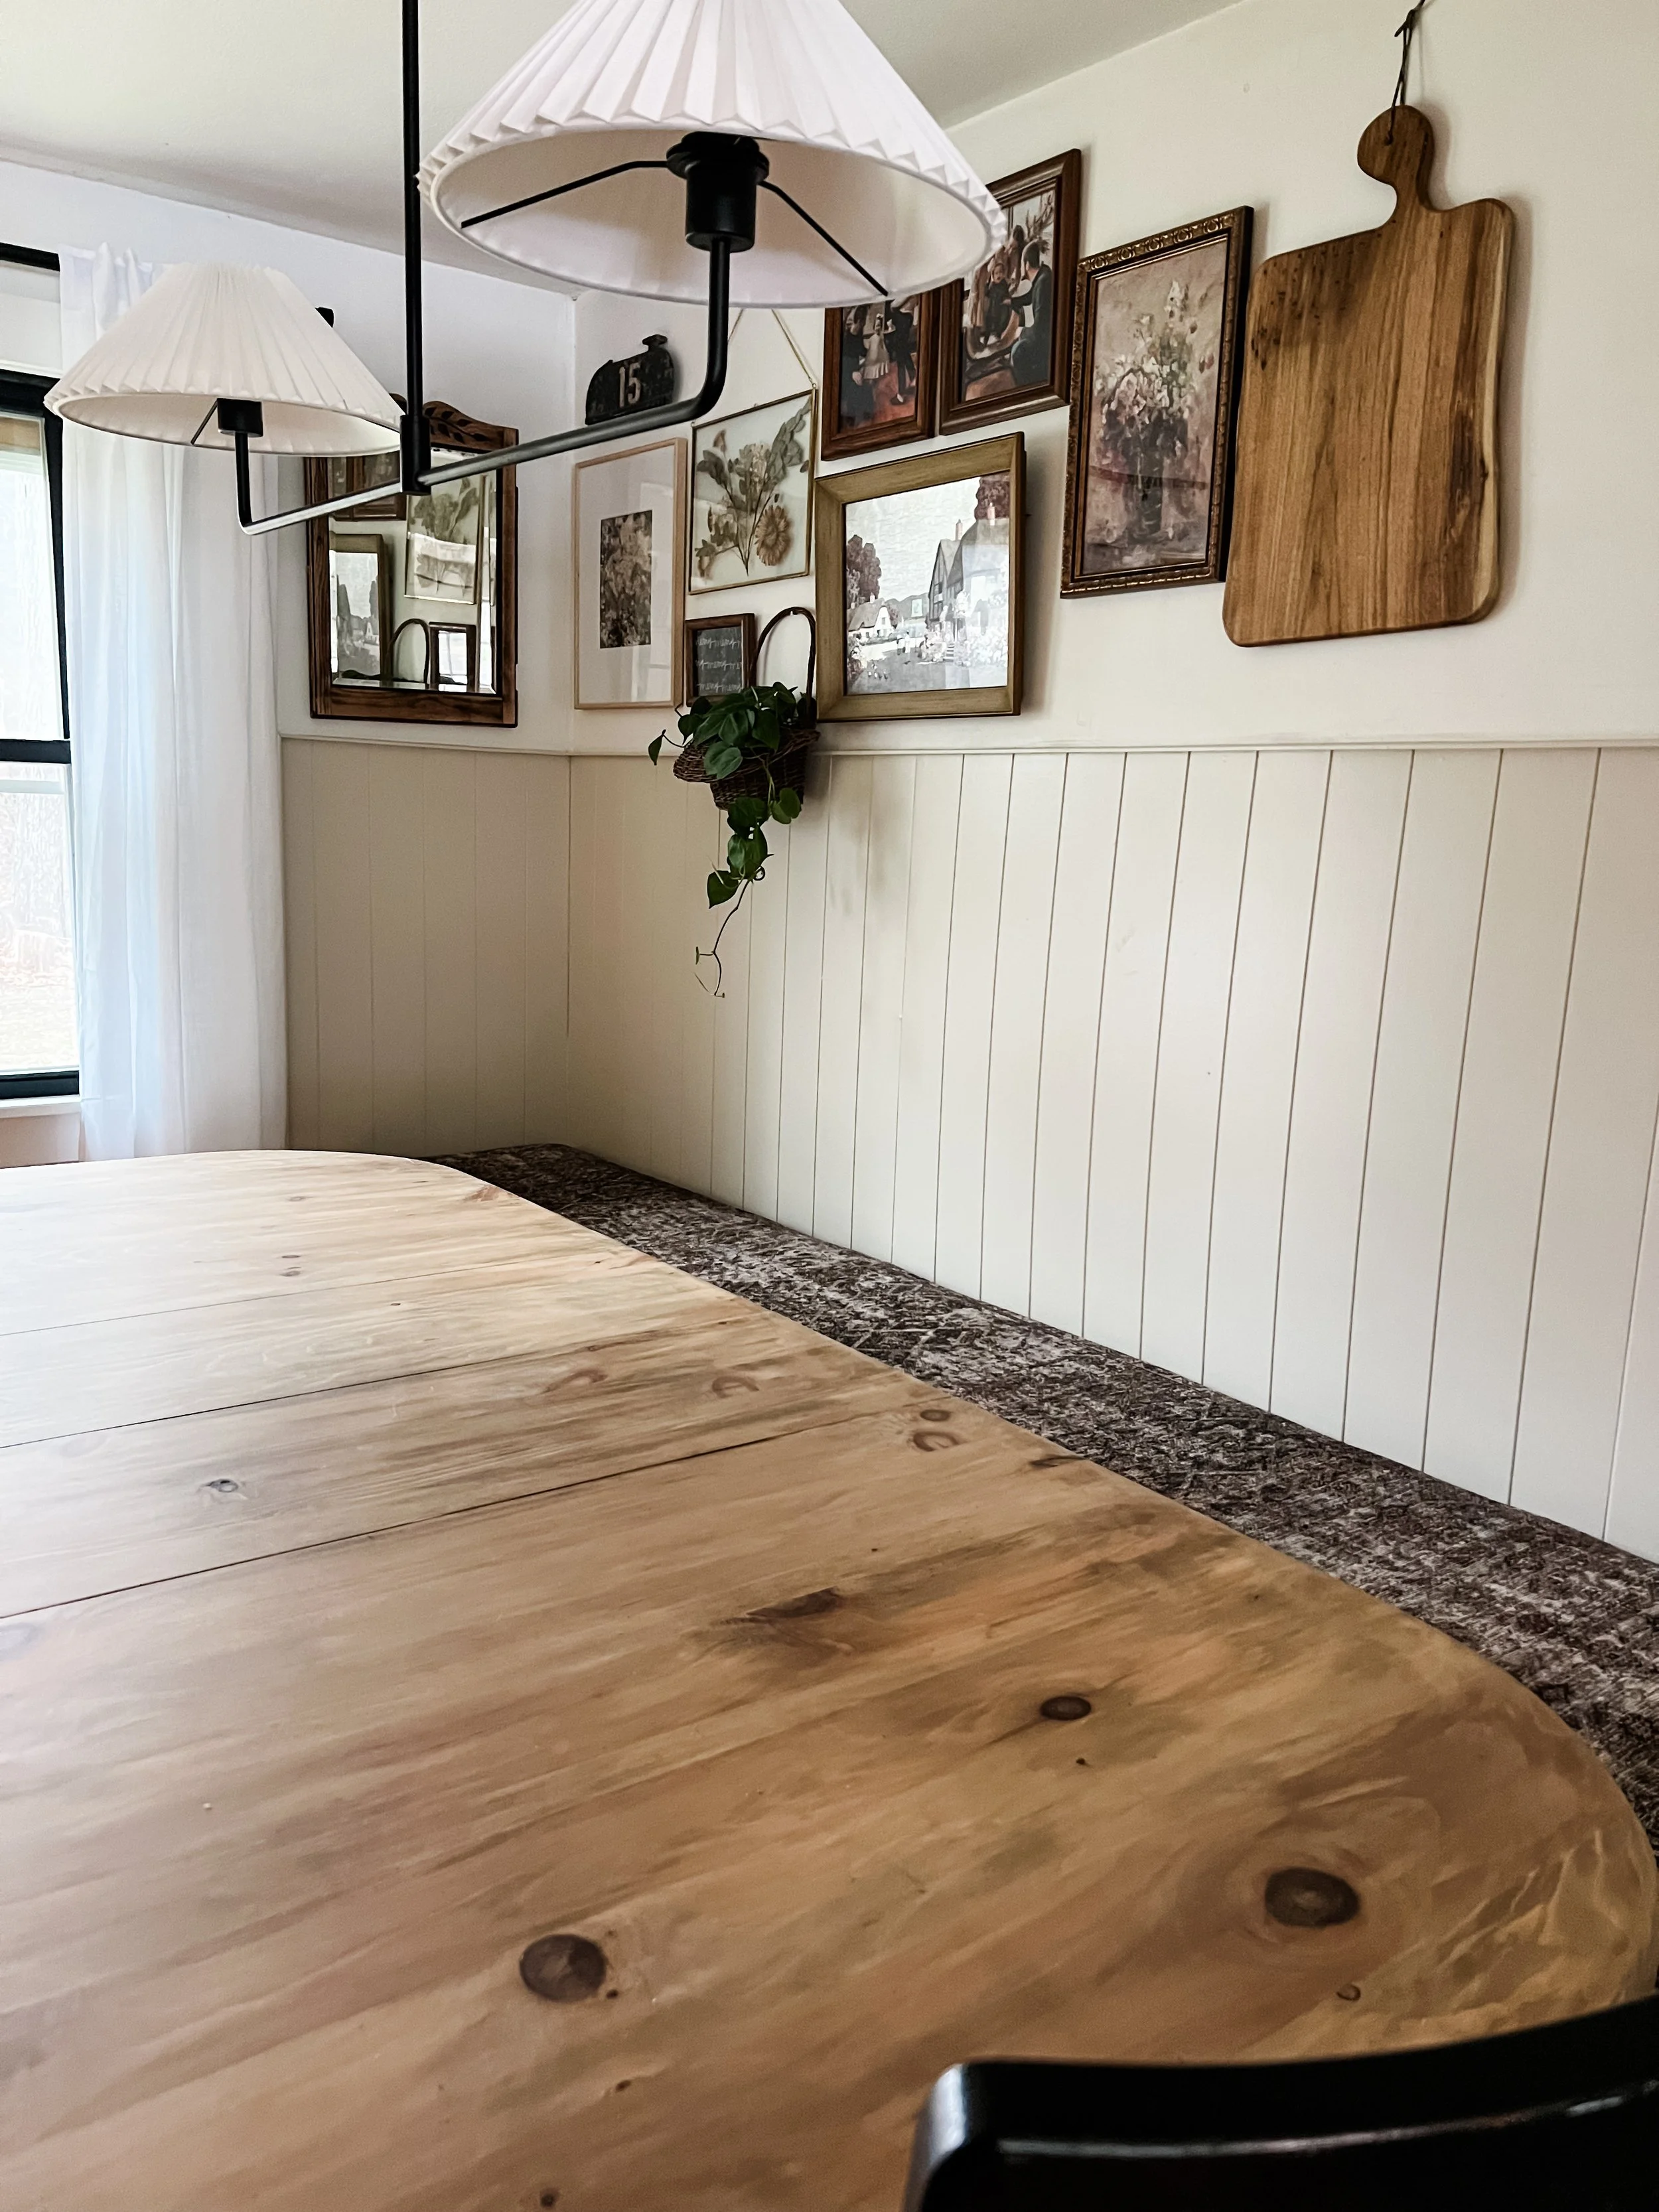
Paneling & Color
The paneling going around the banquette makes this whole area pop. I’m very partial to this shiplap (or “Nickel Gap”) paneling sold in 4x8 sheets at Home Depot. I think it’s just simple and subtle enough while still adding really great texture.
Find the paneling HERE.
Painting it a color - although still neutral - elevated the whole space.
Color details:
Walls - Pure White by Sherwin Williams
Banquette - Natural Cream by Benjamin Moore
The Gallery Wall
I’m typically all for matchy-matchy, samesies kind of gallery walls but I knew this space called for something outside of my comfort zone. Believe it or not, I had plans to wrap a linear gallery wall around the whole banquette but then I came across this artwork and knew it needed a home here.
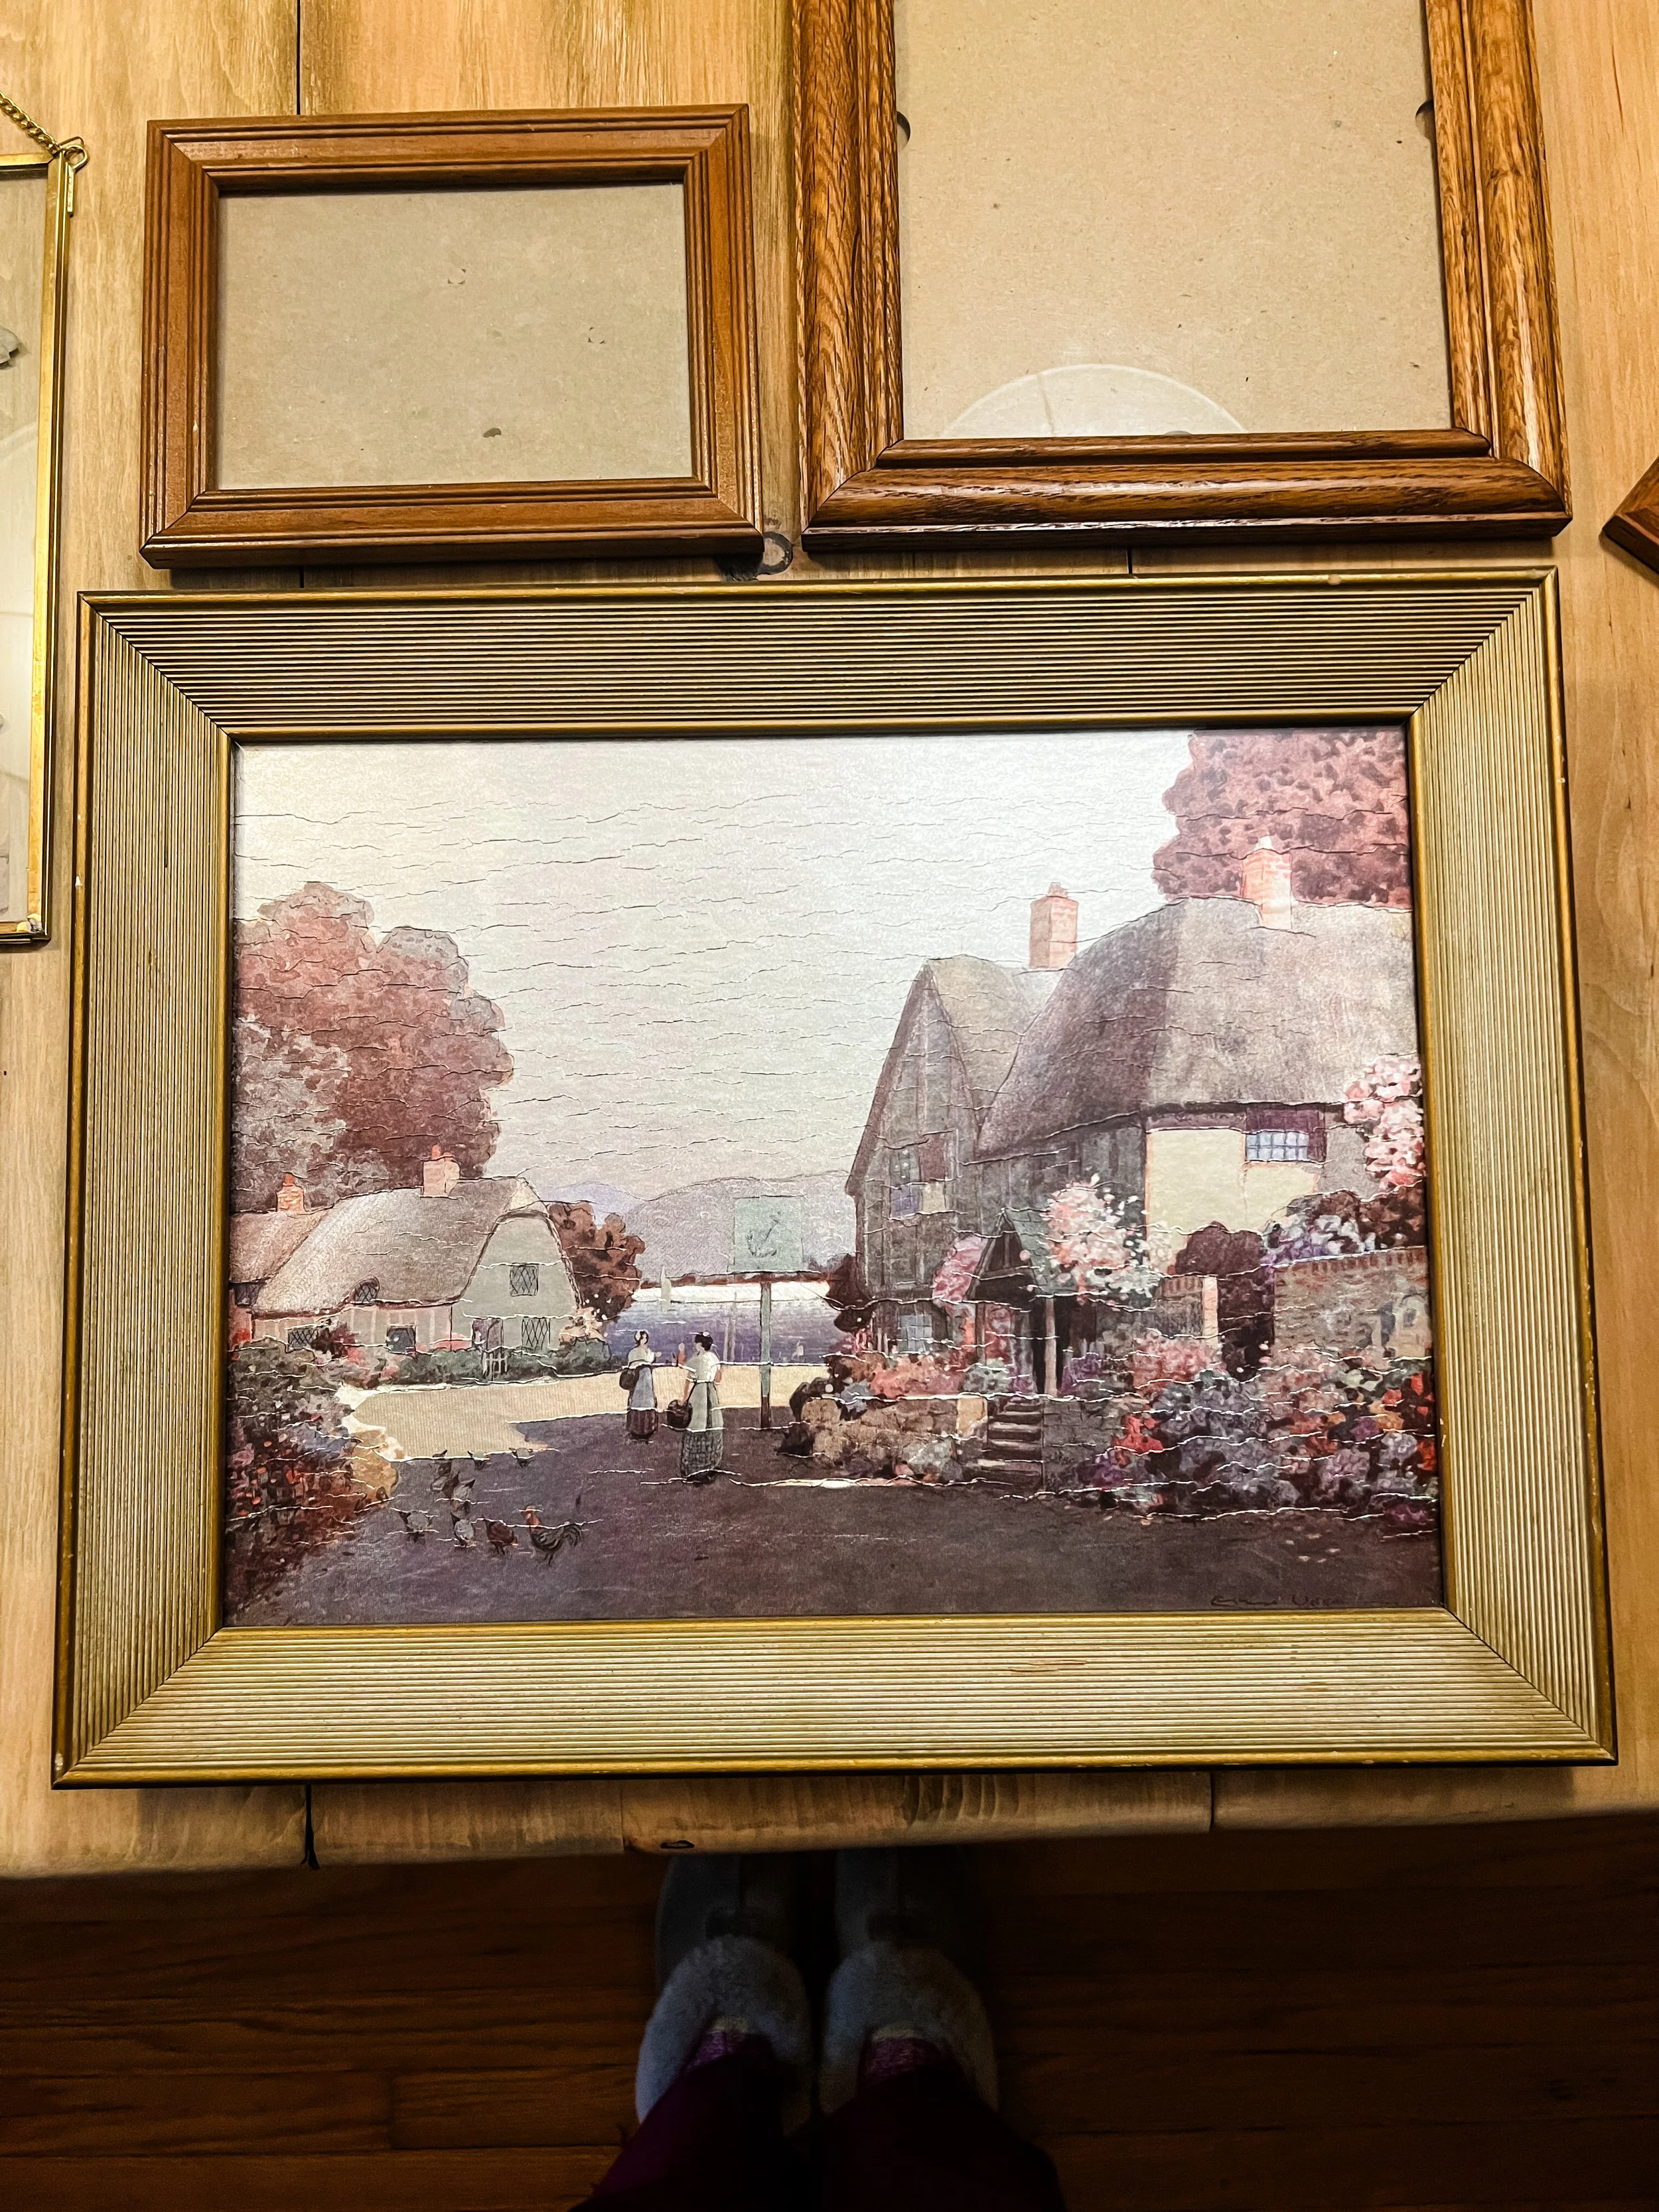
Now, I’m not usually one for art but apparently, my grandfather is.
This piece came from his home and when I stumbled upon it, I knew I had to showcase it. We lost him this past December and I’m so thankful to be able to include it in this display. Seeing this every day brings a strange sense of comfort.
Other pieces
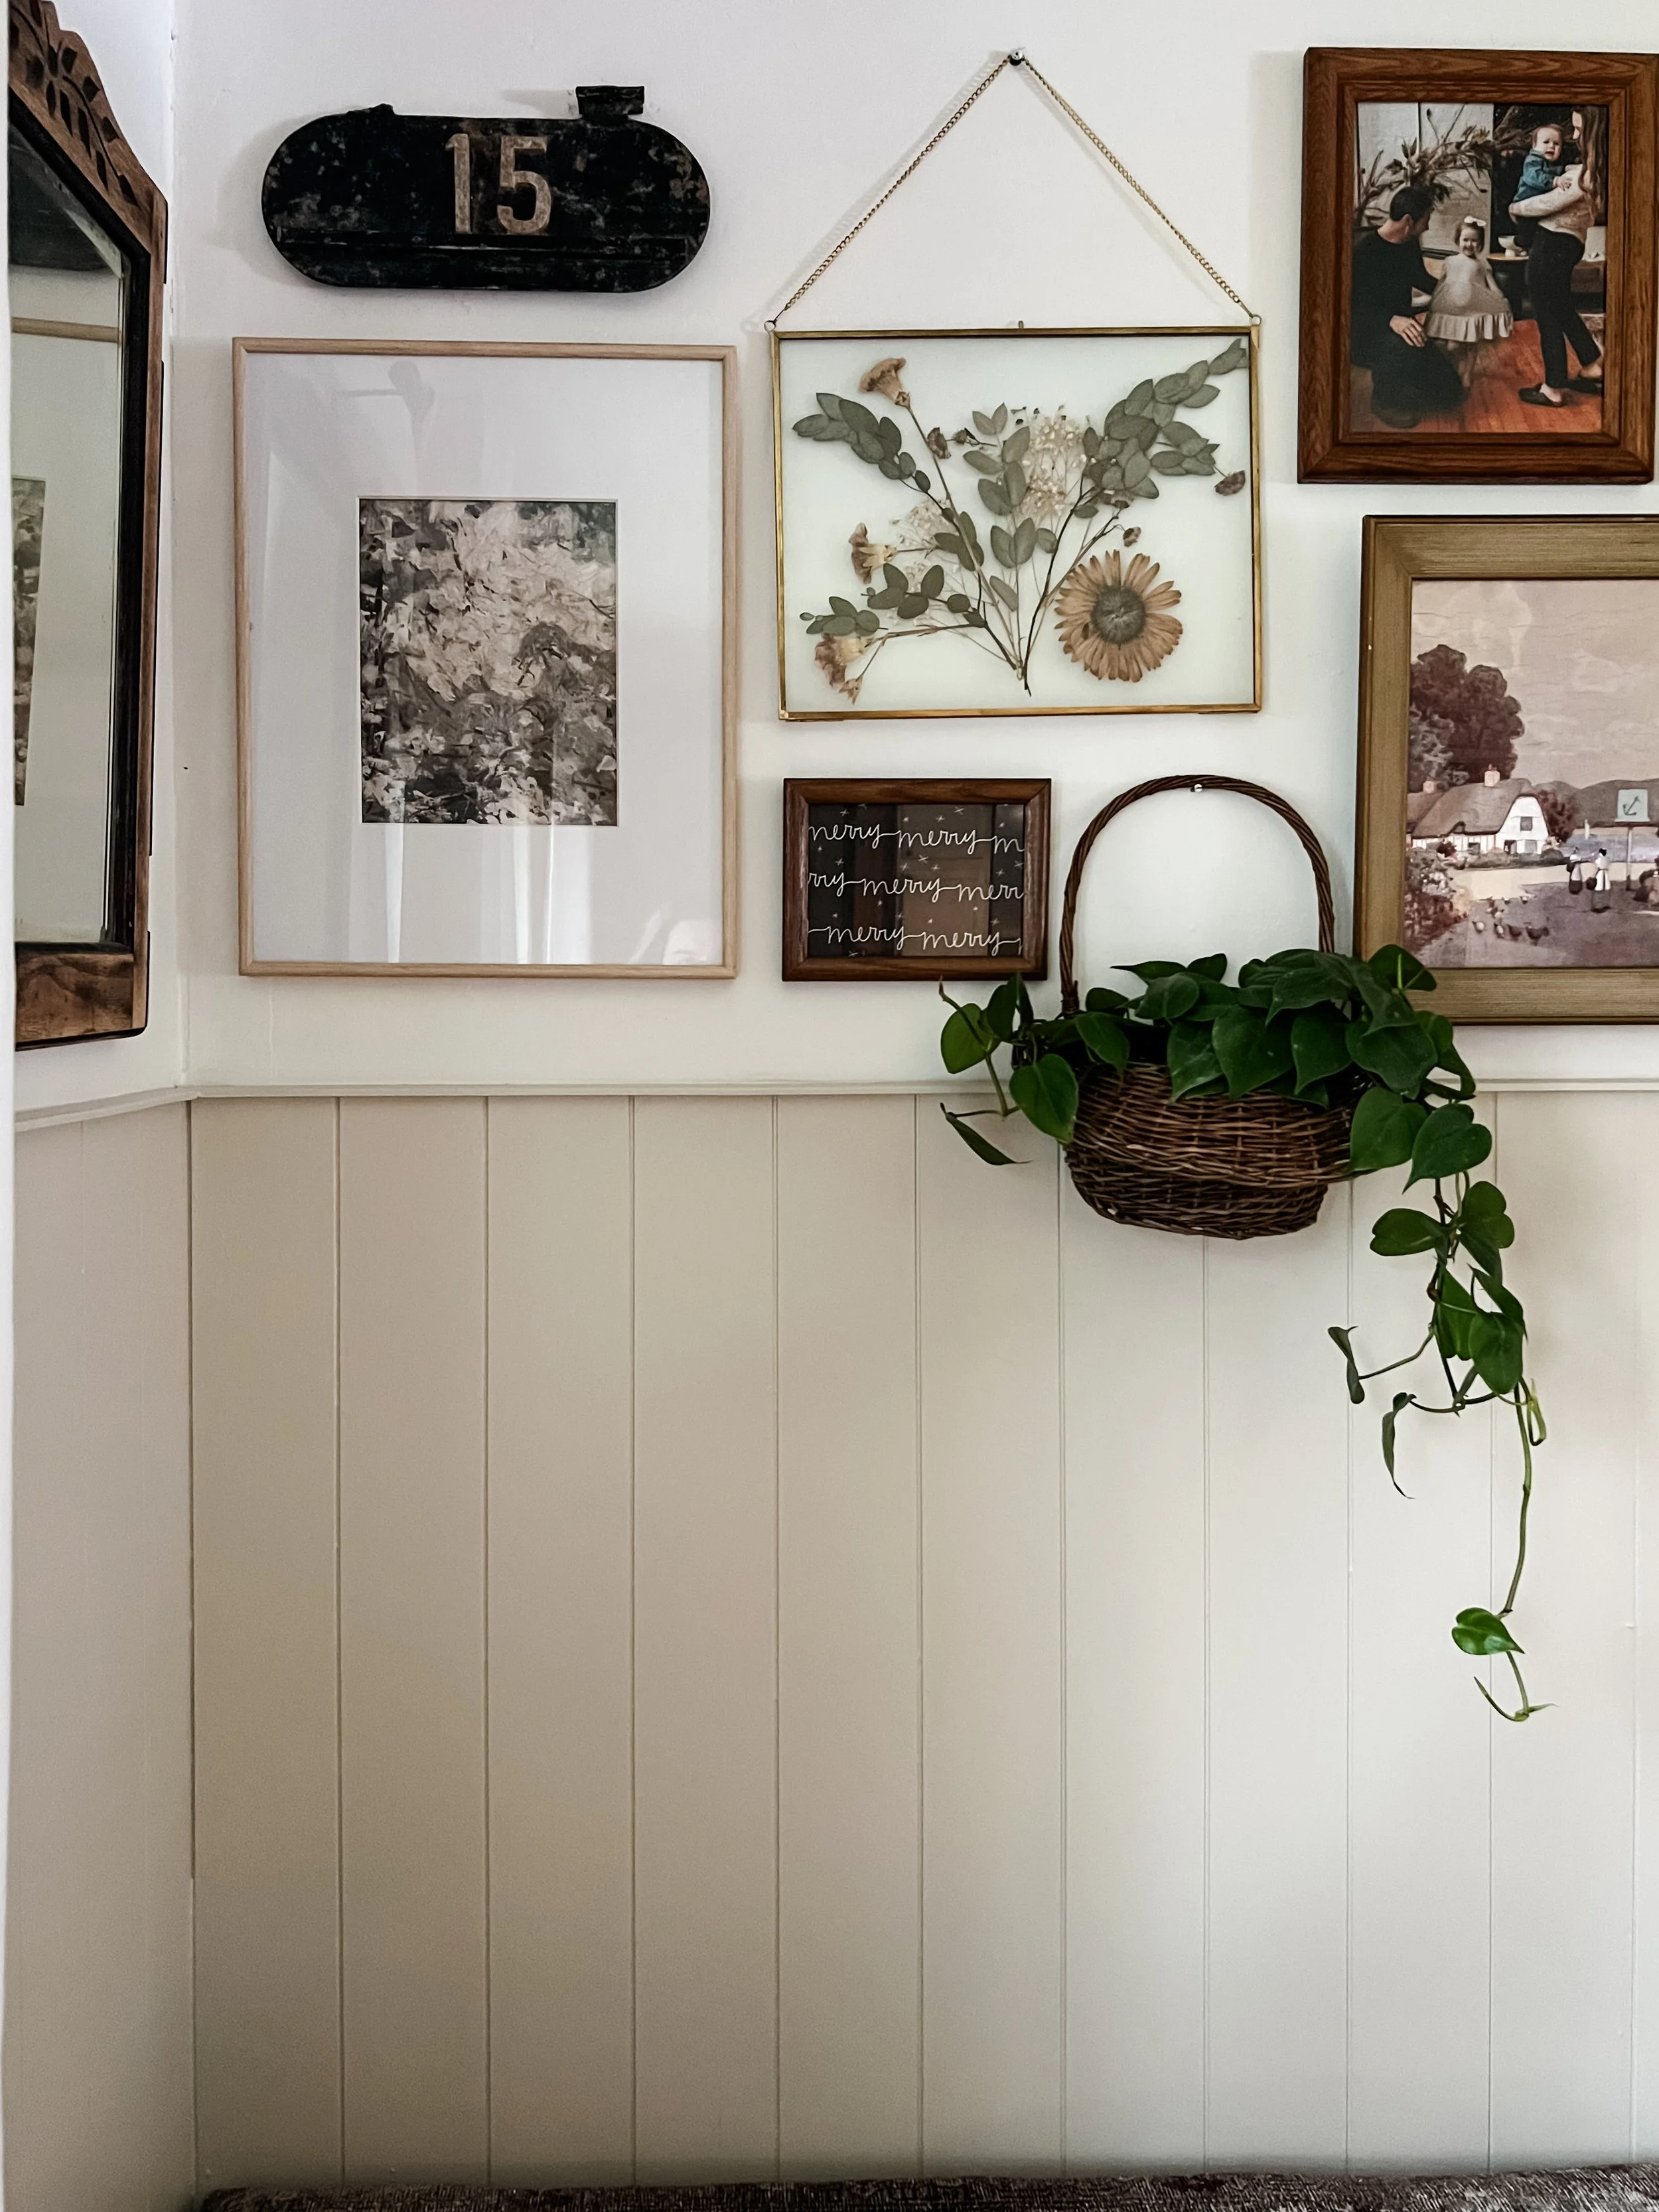
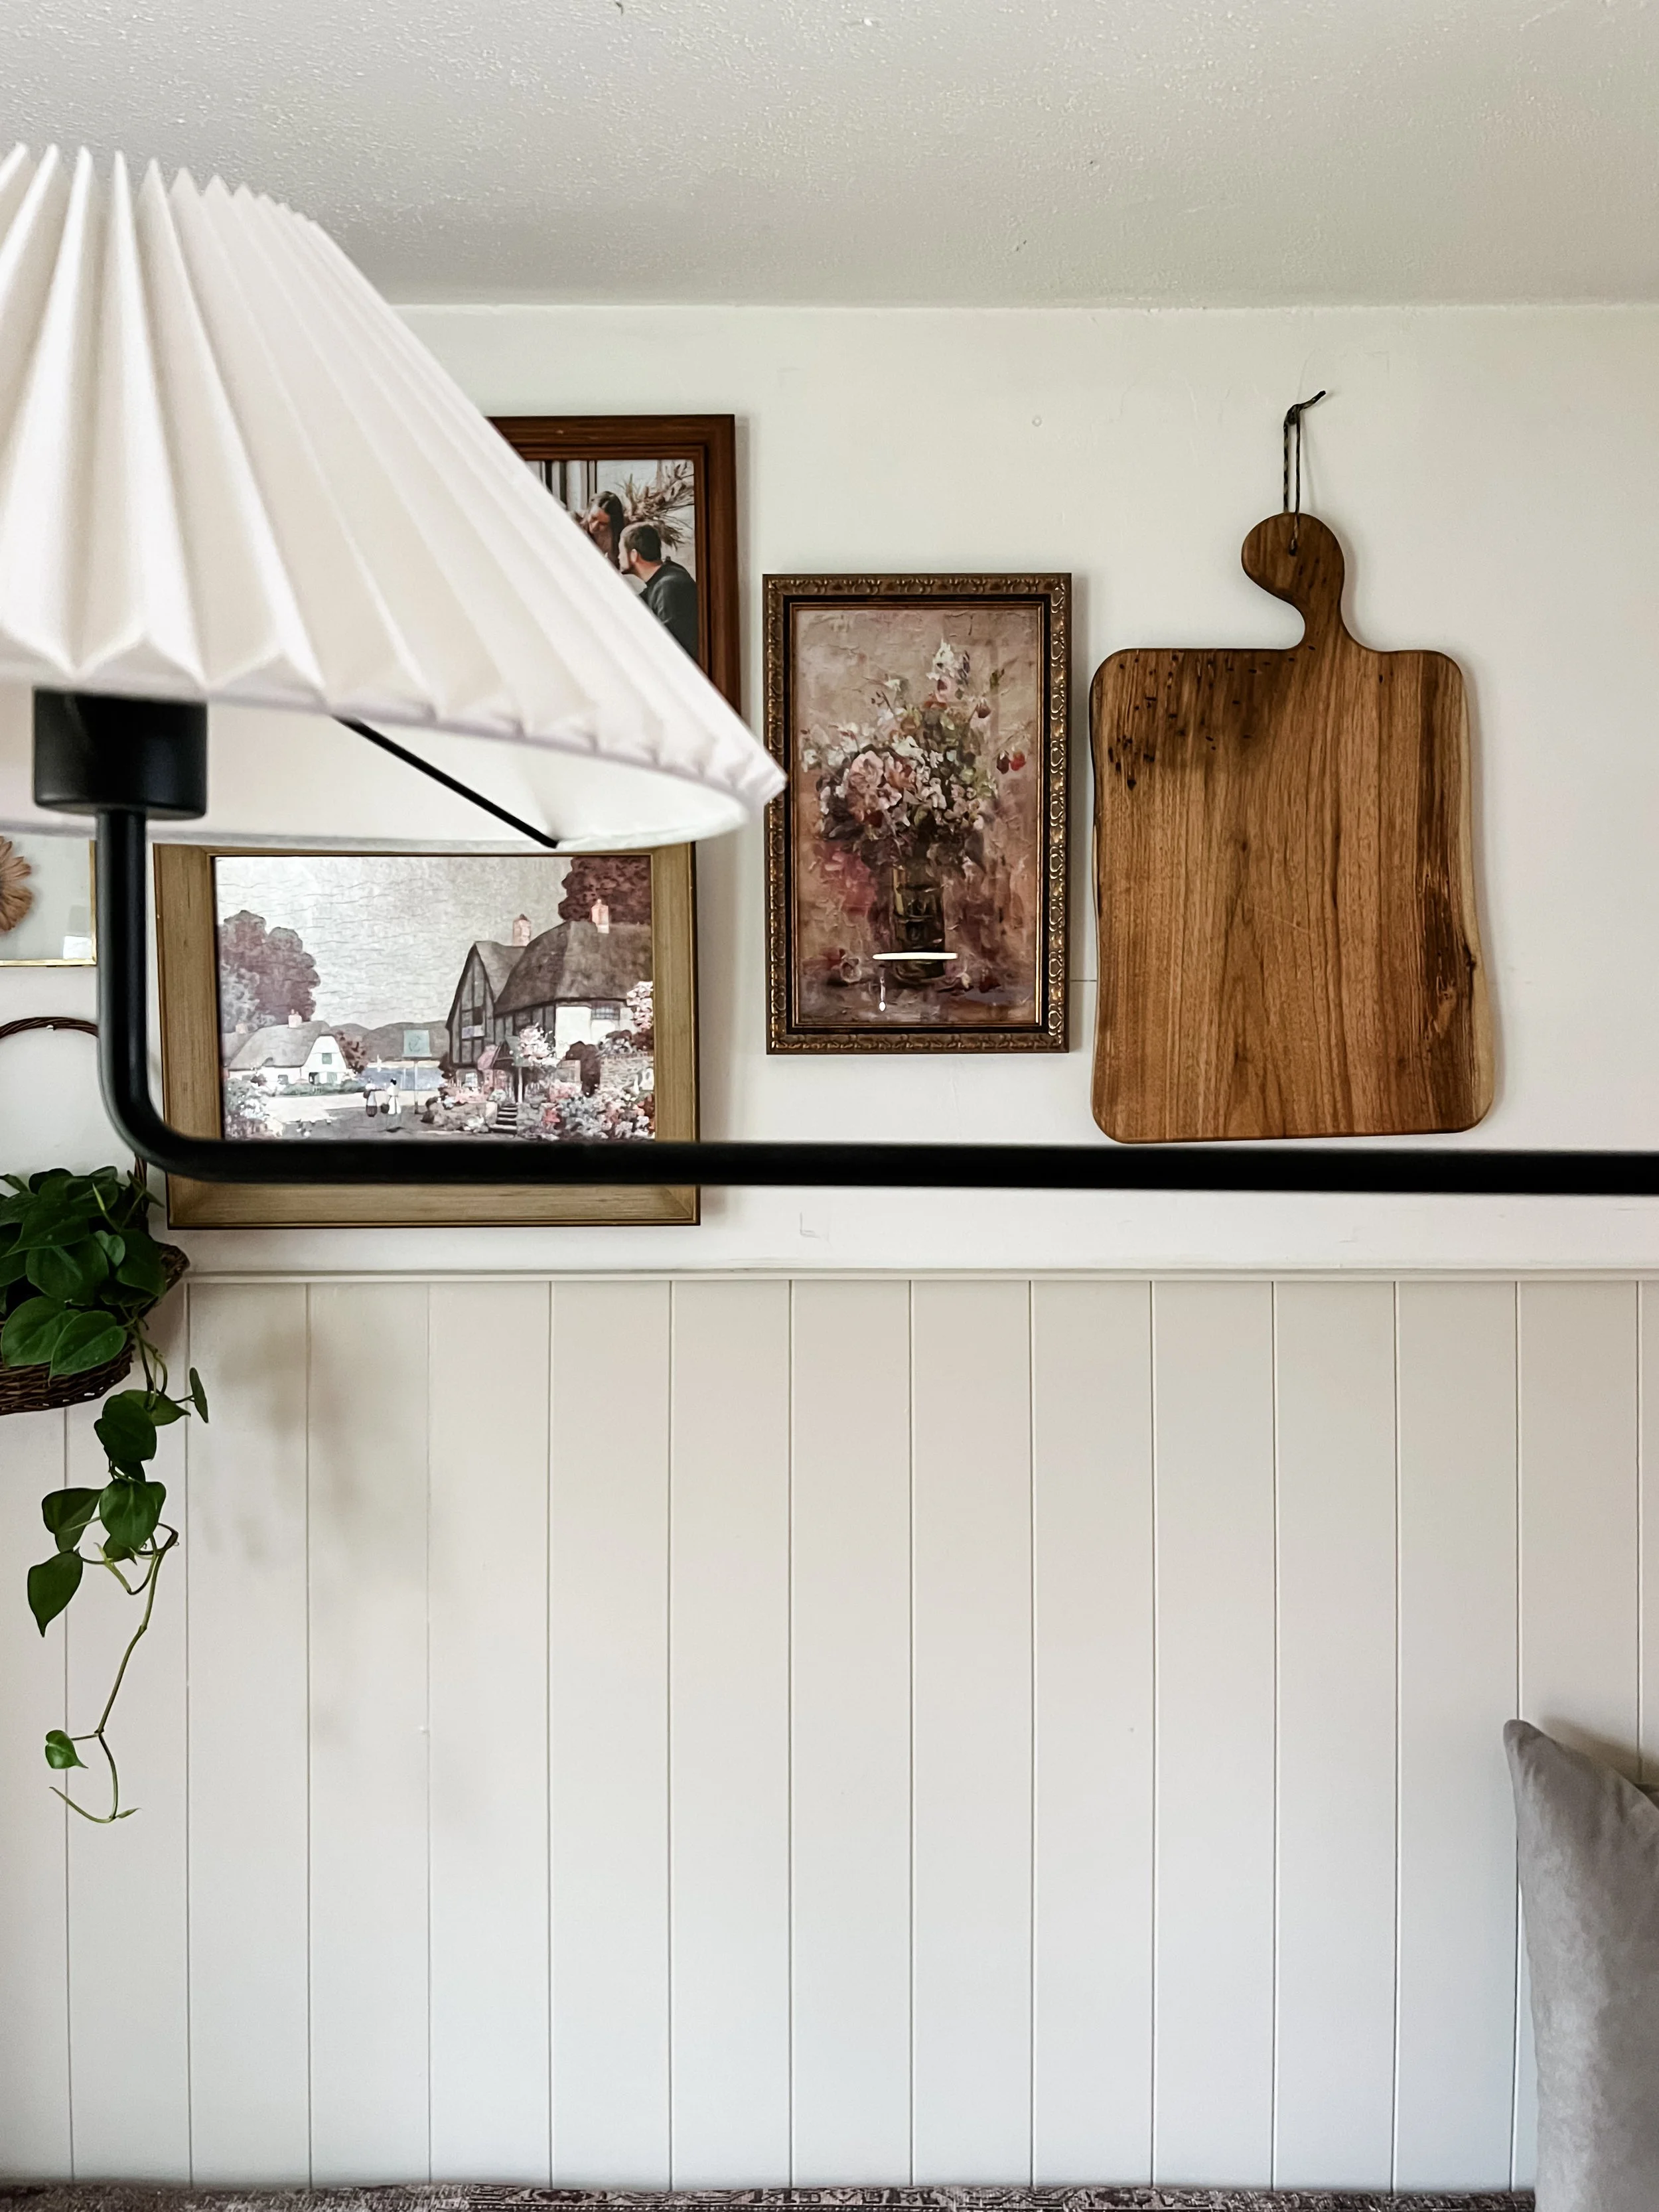
I’ve collected most of these pieces over the years at local antique stores or through family members. The mirror is an antique find, the dried flowers are from my grandmother’s celebration of life, the art print is a random Home Goods purchase, and the cutting board is one of my dad’s originals.
One thing I did incorporate is my favorite Target frame. They are just the best! Real glass, study, and have the perfect back clips that don’t break your fingernails every time you go to change out a picture.
This is the first gallery wall I’ve ever done that isn’t in a perfectly straight line with matching frames and I’m kind of obsessed.
Soft textures

Contrasting the harsh line of the banquette with soft lines and textures really brings out the cozy in this room. To cut the toughness, I add a cushion to the seat (using a runner, nonetheless!), pillows, a curved table, and curtains.
Here are some of the details:
Loloi runner that I’ve used everywhere and have purchased 4 different times
Simple curtains from Amazon
Favorite curtain rod that I have all throughout my home
The dining room table is a $5 Facebook Market place flip (crazy!)
DISCLAIMER: As an Amazon Associate, I earn from qualifying purchases.
So yes, this space has changed quite a bit since the day we moved in and even the day we first “redid” the space. I can confidently say that it feels way more “us” than it ever has. So now, four years later, I finally feel at peace with our little dining space. I hope you can employ some of these design details and tips into your own space.